
This post may contain affiliate links. Read my Disclosure page.
This Halloween Brownie Pie is so rich and fudgy, and the cream cheese spiderweb is an easy way to take it up a notch as the perfect spooky treat.
This post is sponsored by Diamond of California®. All opinions are 100% my own. Thanks for continuing to support the brands that help make ‘Mike Bakes NYC’ possible!
Now that fall is here, it’s time to start thinking about Halloween desserts. And Halloween desserts don’t get much easier or delicious than this easy recipe for Halloween Brownie Pie.
Why You'll Love This Easy Halloween Brownie Pie Recipe
-
Simplicity. You only need 7 ingredients!
-
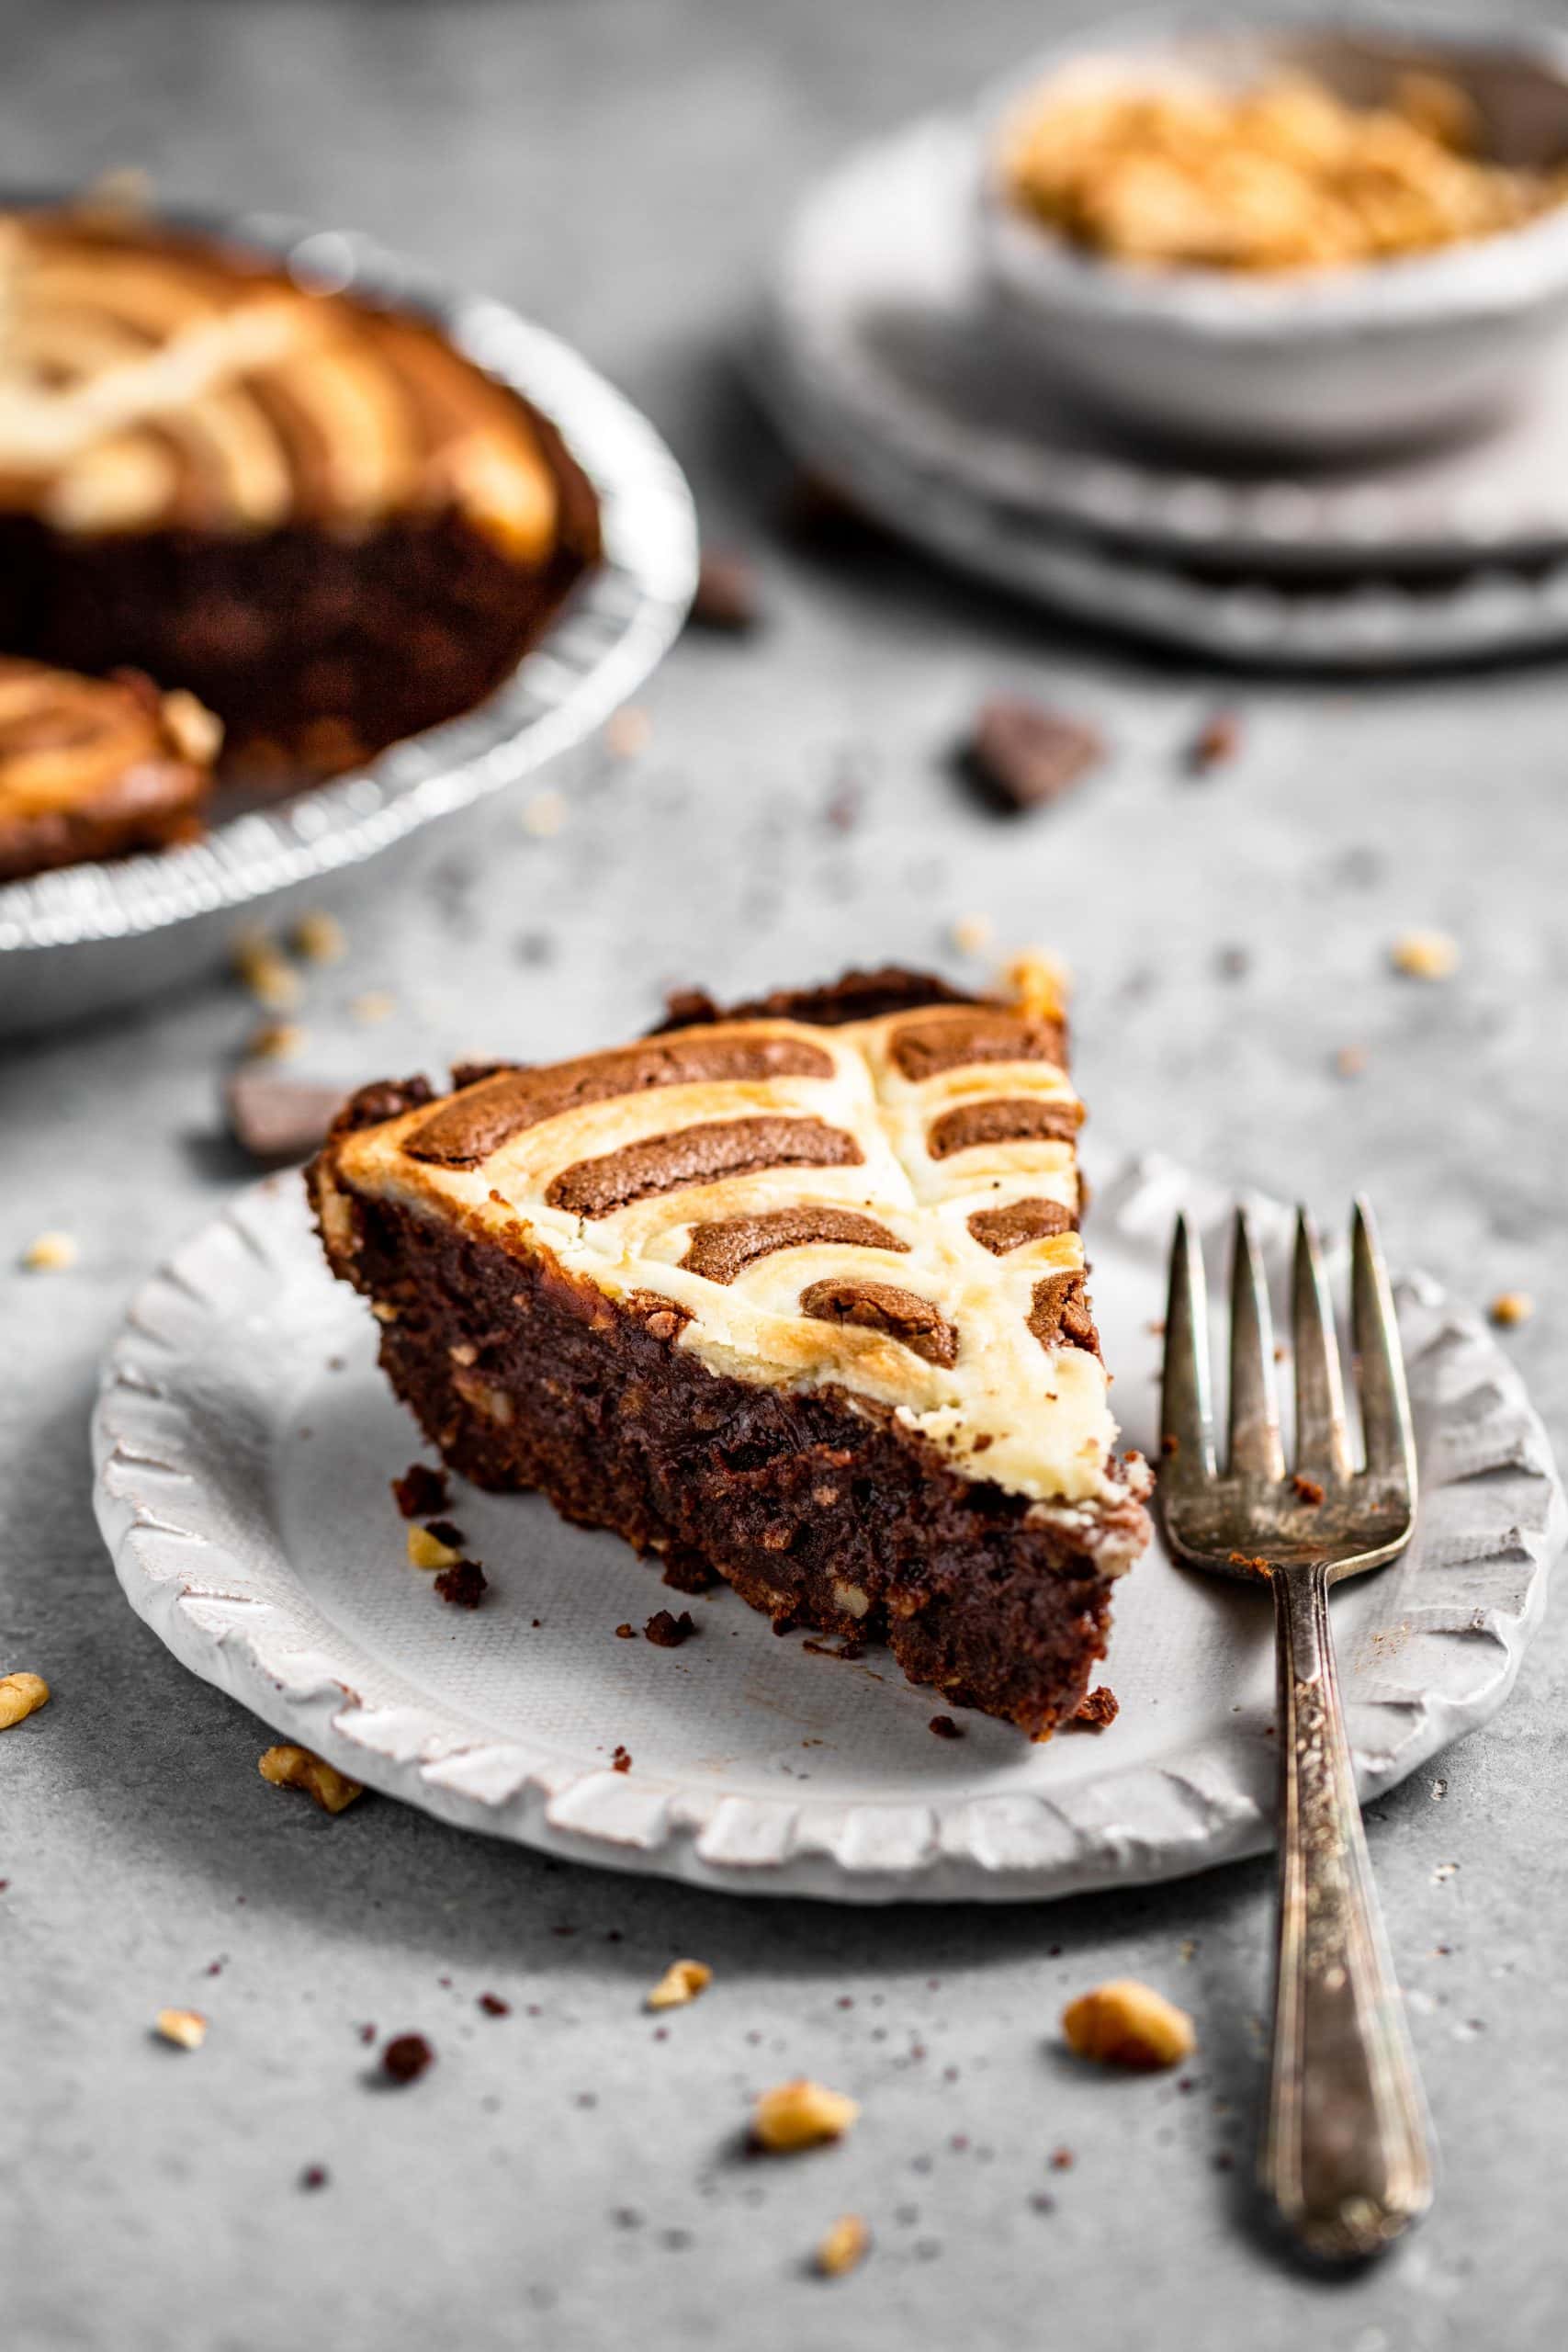
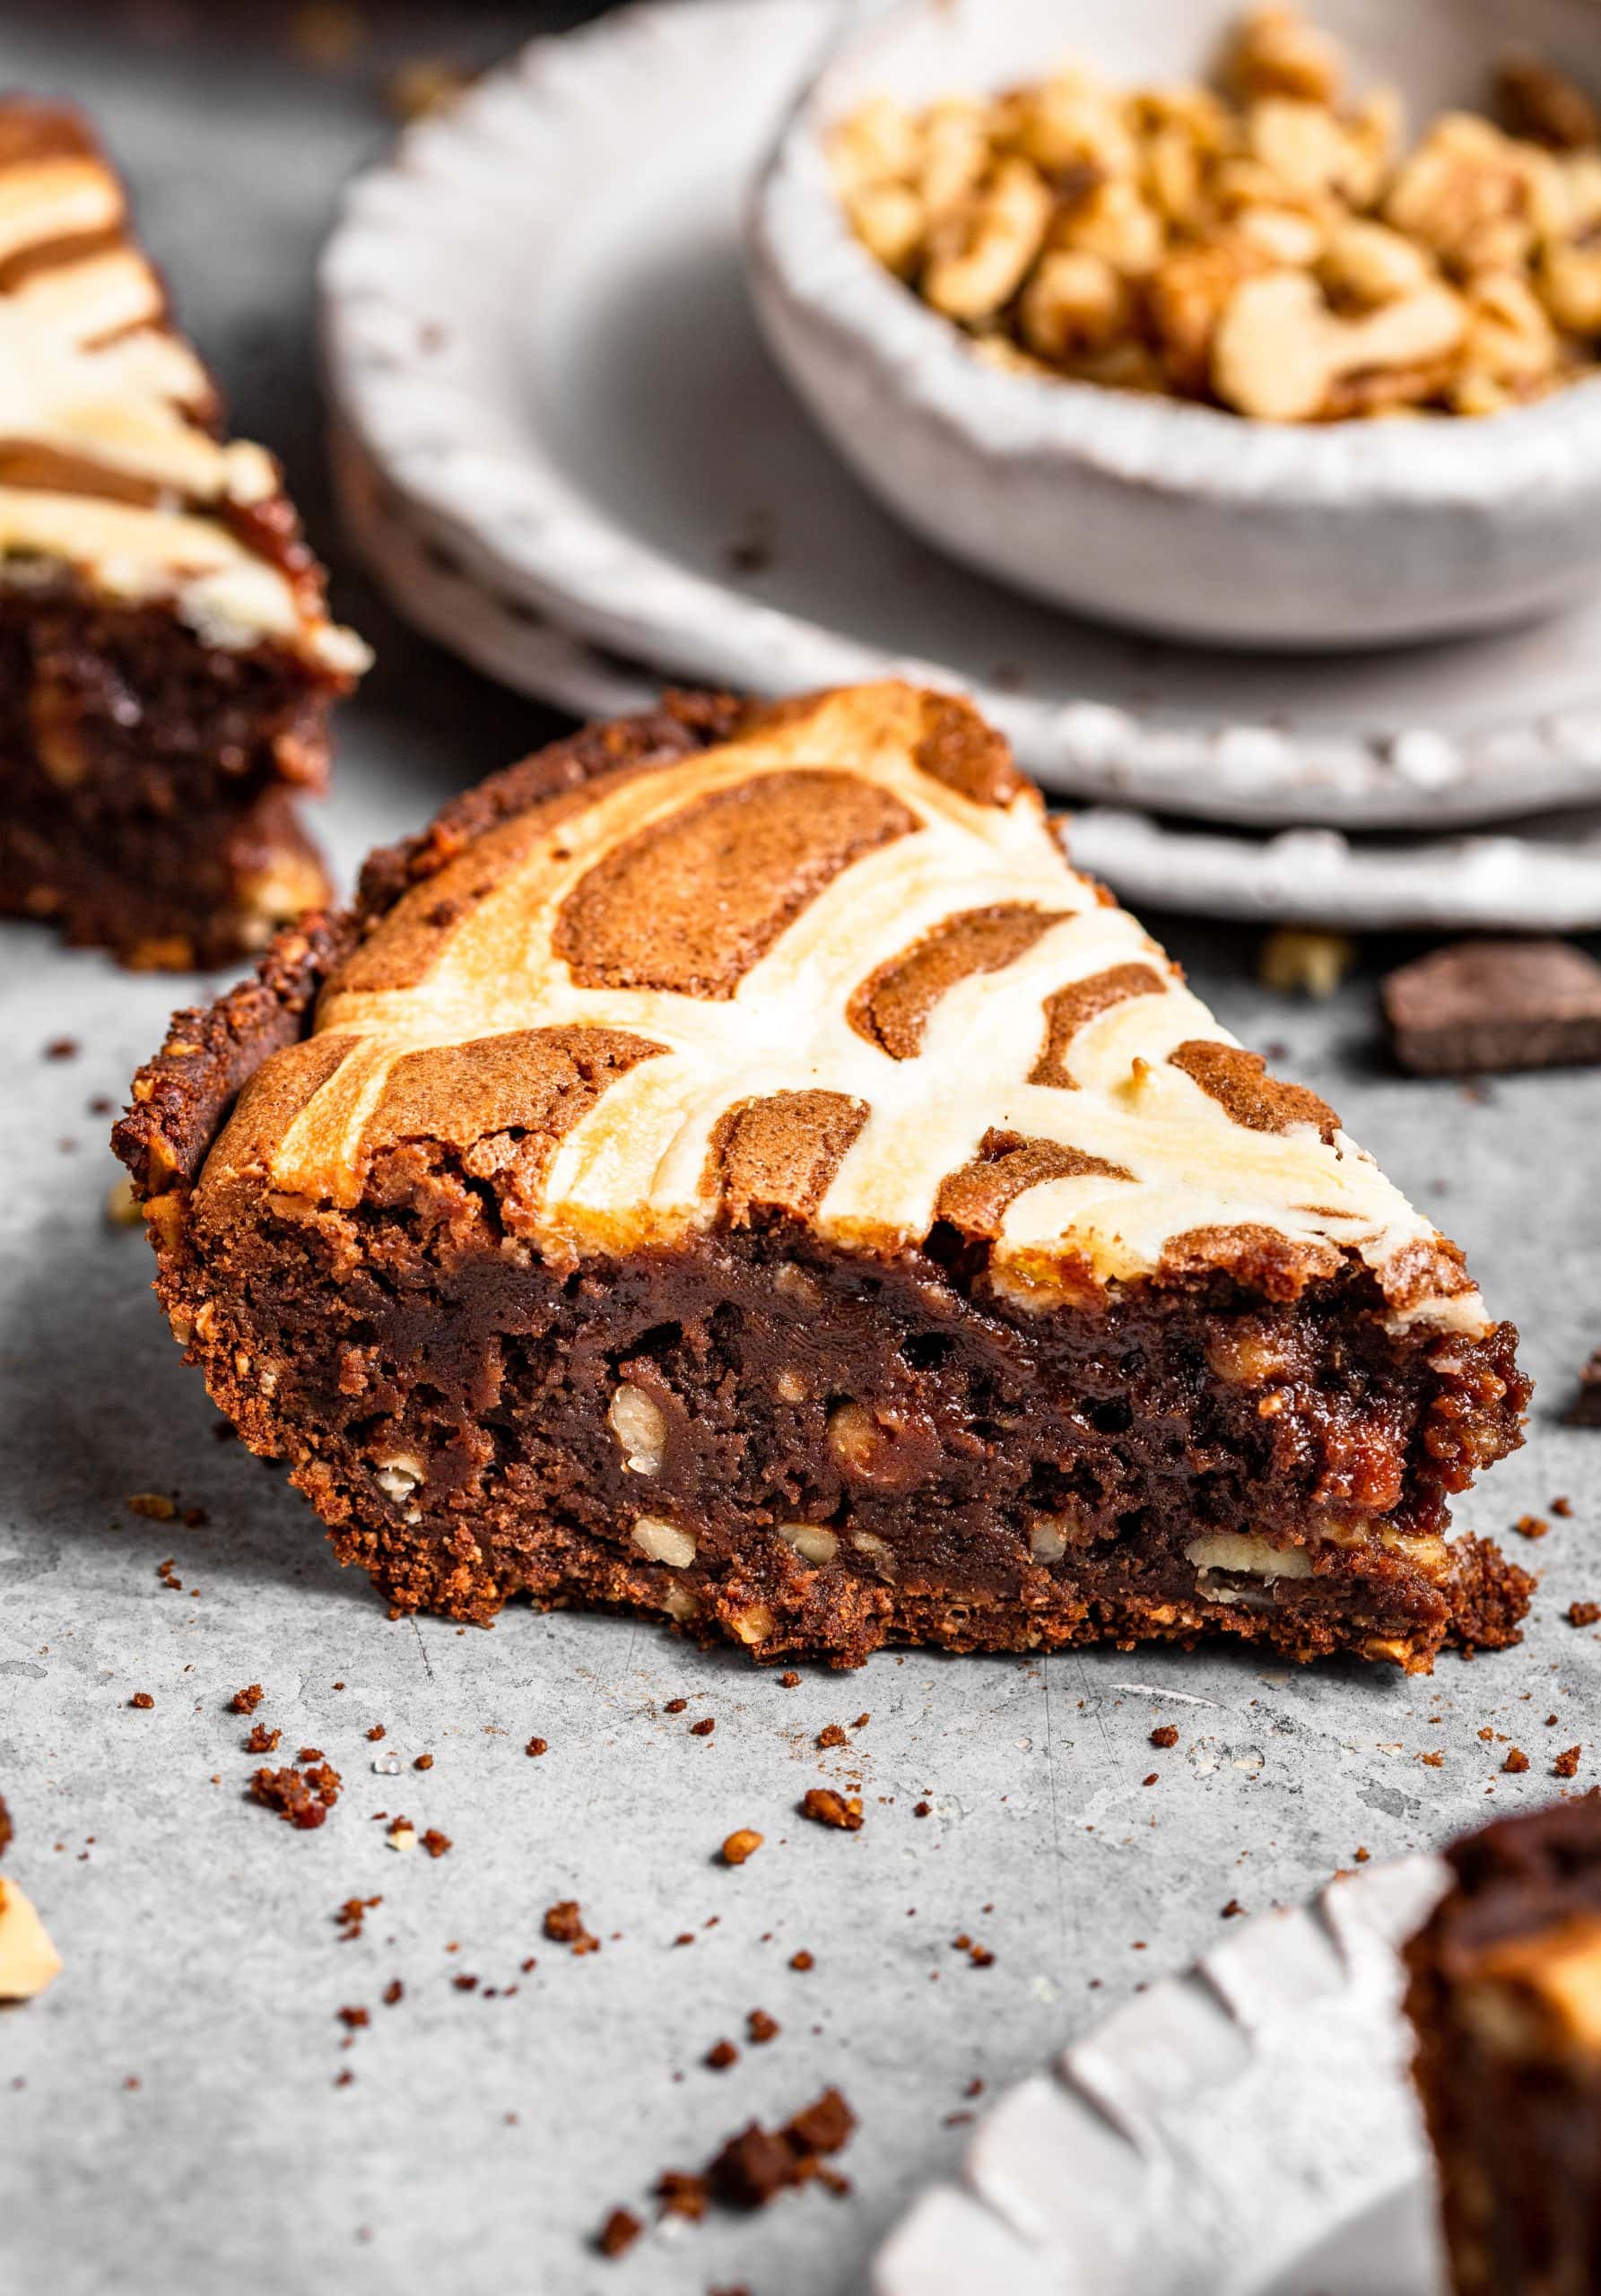
Pie filling texture. I’m talkin’ a chewy, fudgy brownie with toasty walnuts inside and a slight tang from the cream cheese spiderweb on top.
-
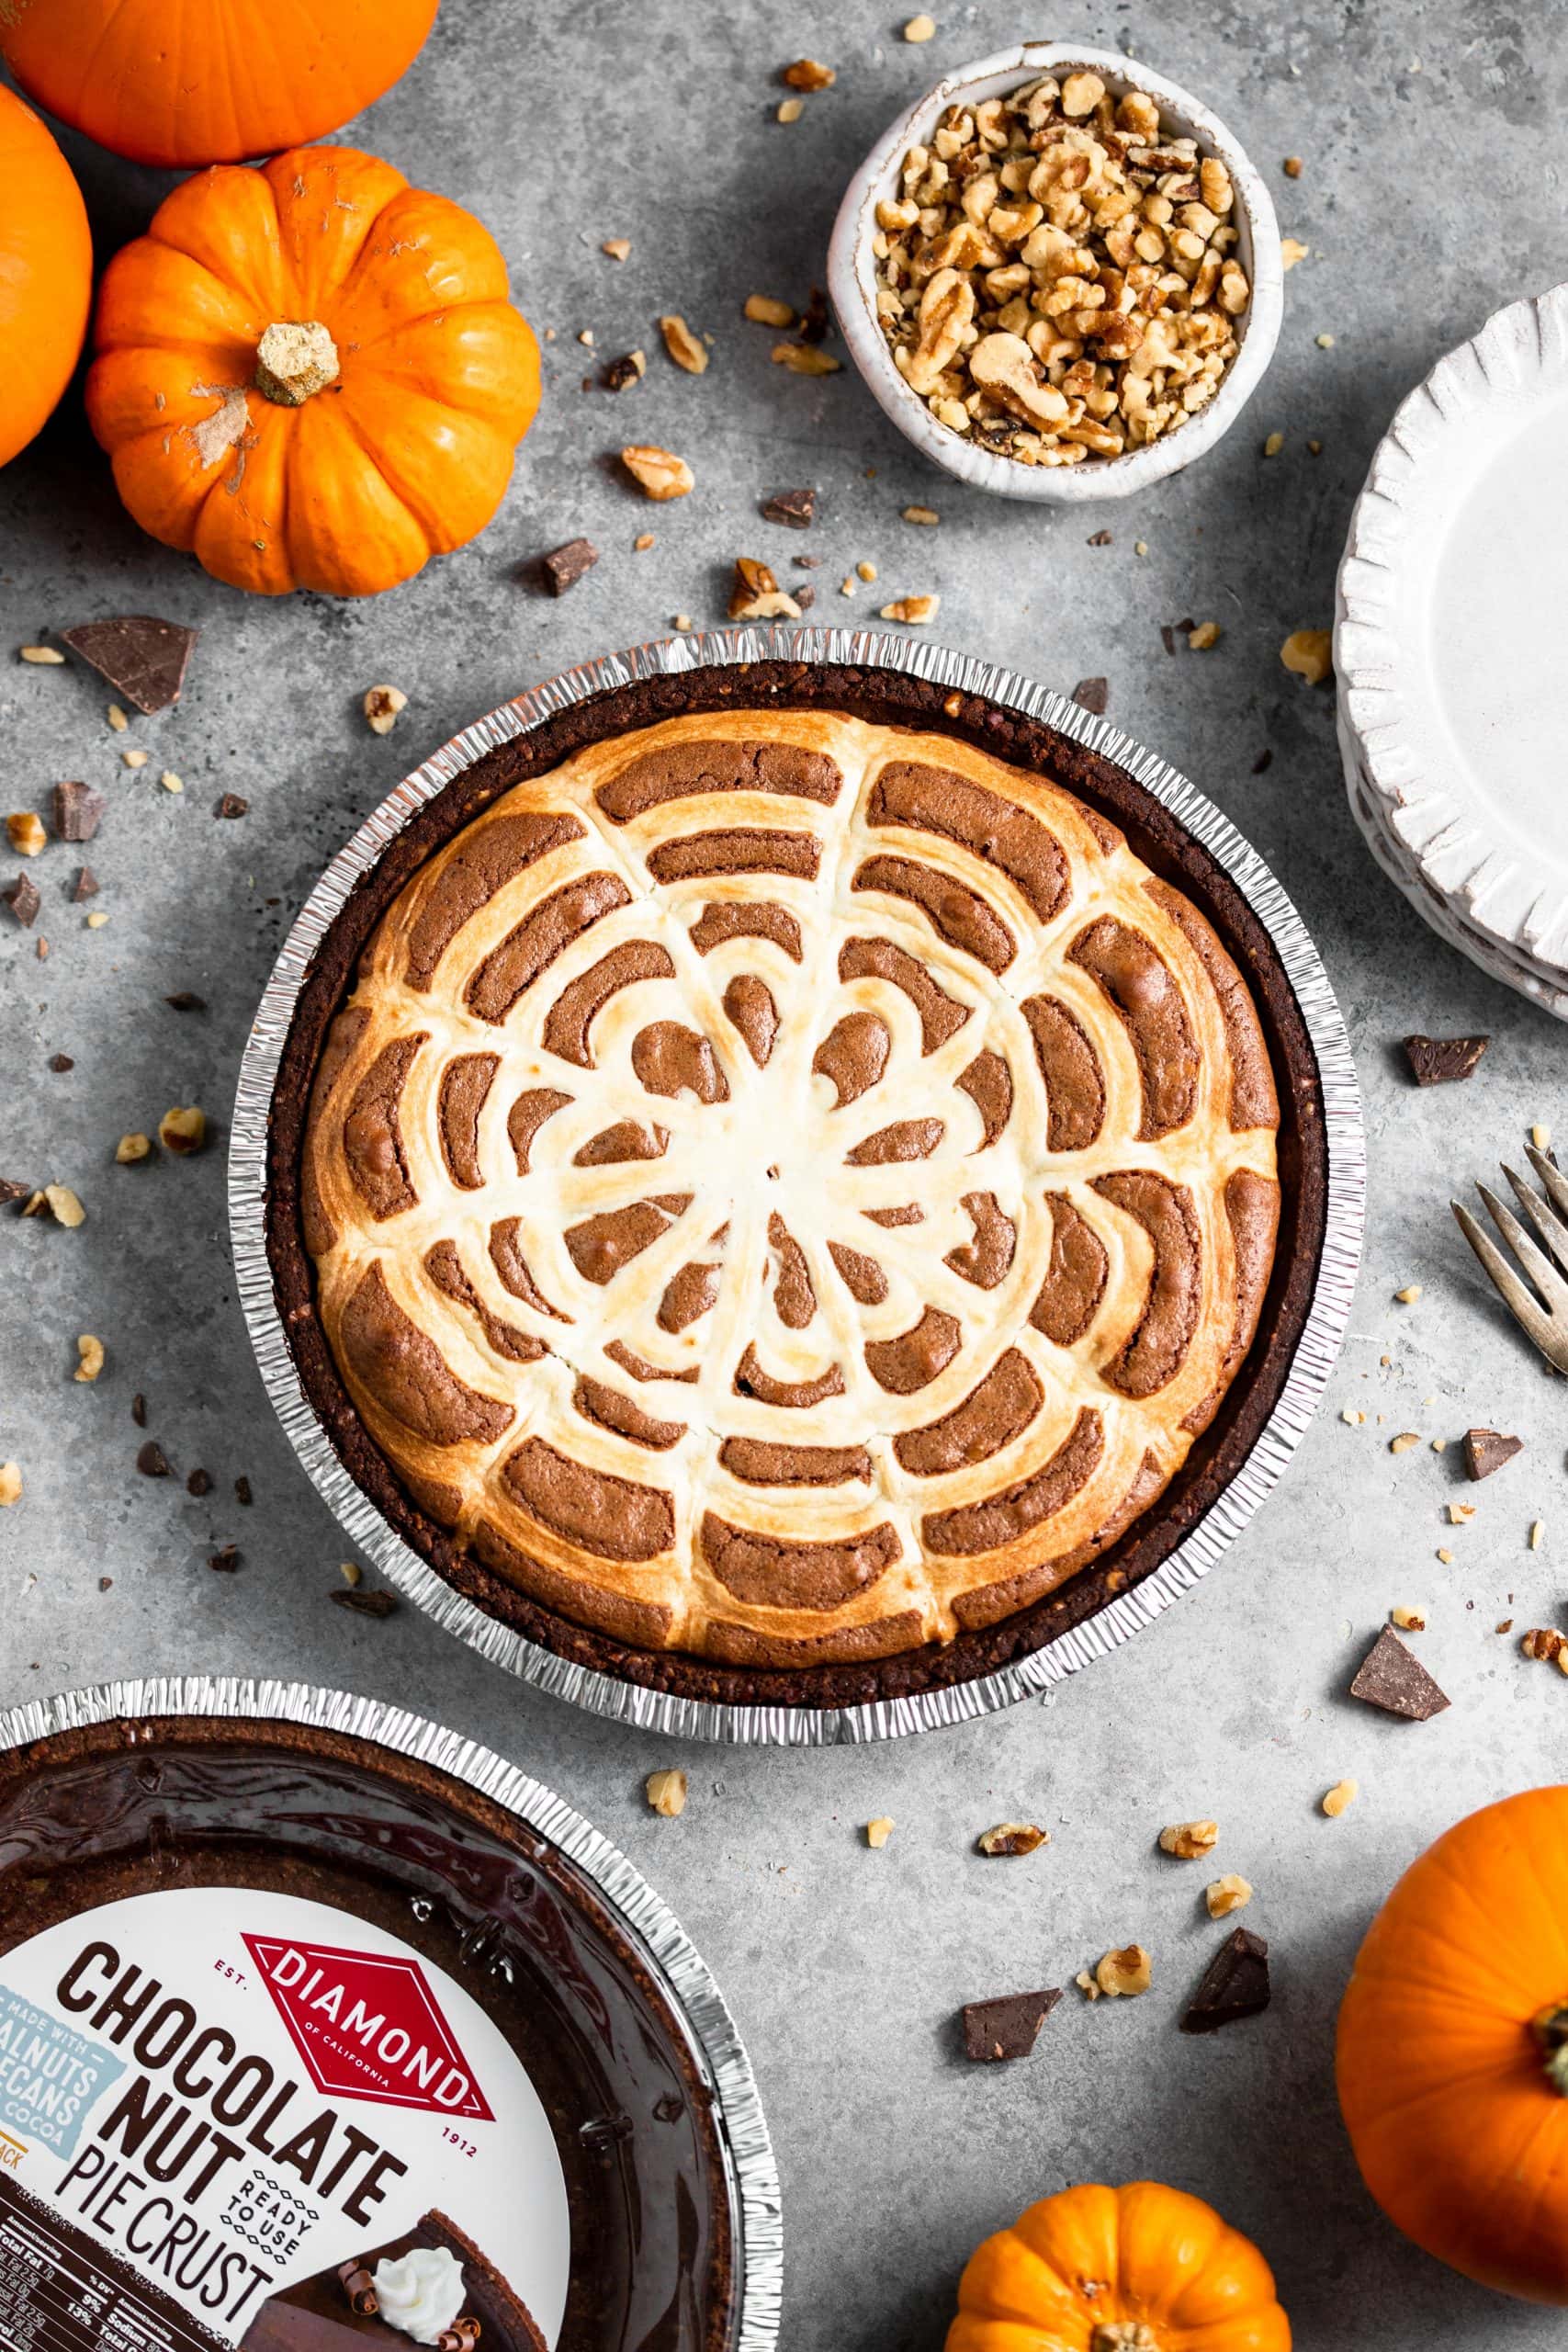
The best pie crust. This pie is made with the new chocolate nut pie crust from my friends over at Diamond. I’ve been using their nuts for years, so when they asked me to come up with a recipe using their new chocolate nut ready-made pie crust, I jumped at the chance. The nut crust baked wonderfully and kept the prep time for this brownie pie super short. Talk about a win-win!
You can find the Chocolate Nut Pie Crusts at Walmart stores nationwide, as well as many other national retailers.
How To Make This Halloween Brownie Pie
This Halloween brownie pie is one of the easiest pie recipes to make. It’s one bowl, one spoon, and you just pour it into a crust and bake. If you can mix and stir and pour, you can make this pie!
You'll start off by melting together the butter and chocolate for the brownie batter; you can do this one of two ways: 1) using a double boiler or 2) using a microwave in 15-30 second intervals. Once that's all melted together you'll whisk in the sugar and eggs (careful not to scramble your eggs!) and then fold in the flour, salt, and chopped toasted walnuts (if using) and TA-DA!! You’re ready to pour your brownie pie filling into your ready-made chocolate nut pie crust.

Now, let's talk about that spooky spiderweb decoration piped on top. I promise it looks more challenging than it actually is. The mixture is simply cream cheese, sugar, and a little bit of milk beaten together until silky smooth. Once that's come together, you'll pipe concentric circles on top of the brownie batter, starting in the middle and working your way to the pie crust. Then, take a knife and drag it from the outer edge of the pie to the very center in straight lines; I made 10 lines and then piped over the lines for more definition. See? Easy!
If it still sounds complicated, watch this quick video below!

Quick Tips for Making This Halloween Brownie Pie:
-
You can totally switch up the type of nuts used in the pie, so use whatever you have on hand! If nuts aren't your thing, feel free to leave them out!
-
When you pull the brownie pie out of the oven, it should be only very slightly jiggly in the center. If it’s overly jiggly, keep it in the oven for a little while longer.
-
Be sure to allow your brownie pie to cool completely before cutting. A warm pie won’t be set, and your slices won’t hold a clean edge. Trust me!

LOOKING FOR OTHER BROWNIE RECIPES?
CHECK THESE OUT!
Ultimate Fudge Brownies
Pumpkin Swirl Brownies
S'mores Brownies
Oreo-Stuffed Brownie Cups
Fudgy Brownie Crinkle Cookies


Halloween Brownie Pie
Ingredients
For the Brownie Pie:
- 1 Diamond of California Chocolate Nut Pie Crust
- 115 g unsalted butter
- 85 g 70% cacao dark chocolate chopped
- 200 g granulated sugar
- 2 large eggs
- 1 tablespoon vanilla extract
- 95 g all-purpose flour
- ½ teaspoon fine sea salt
- 60 g chopped walnuts toasted (optional)
For the Cream Cheese Spiderweb:
- 55 g cream cheese softened
- 40 g granulated sugar
- 20 g milk
Instructions
- Preheat the oven to 350°F (180°C).
- Place the butter and chopped chocolate in a heatproof bowl and set over a pan of gently simmering water to create a double boiler. Stir occasionally until the chocolate is fully melted. Then remove the bowl from the heat and set aside to cool for 5 minutes.
- Add the sugar, eggs, and vanilla to the melted chocolate mixture and whisk until well combined. Sift in the dry ingredients and use a rubber spatula to gently fold until just combined. Fold in the chopped walnuts, if using. Pour the brownie batter into the crust, then set aside.
- In a medium bowl, beat together the cream cheese, sugar, and milk until smooth and well combined. Transfer the mixture to a piping bag.
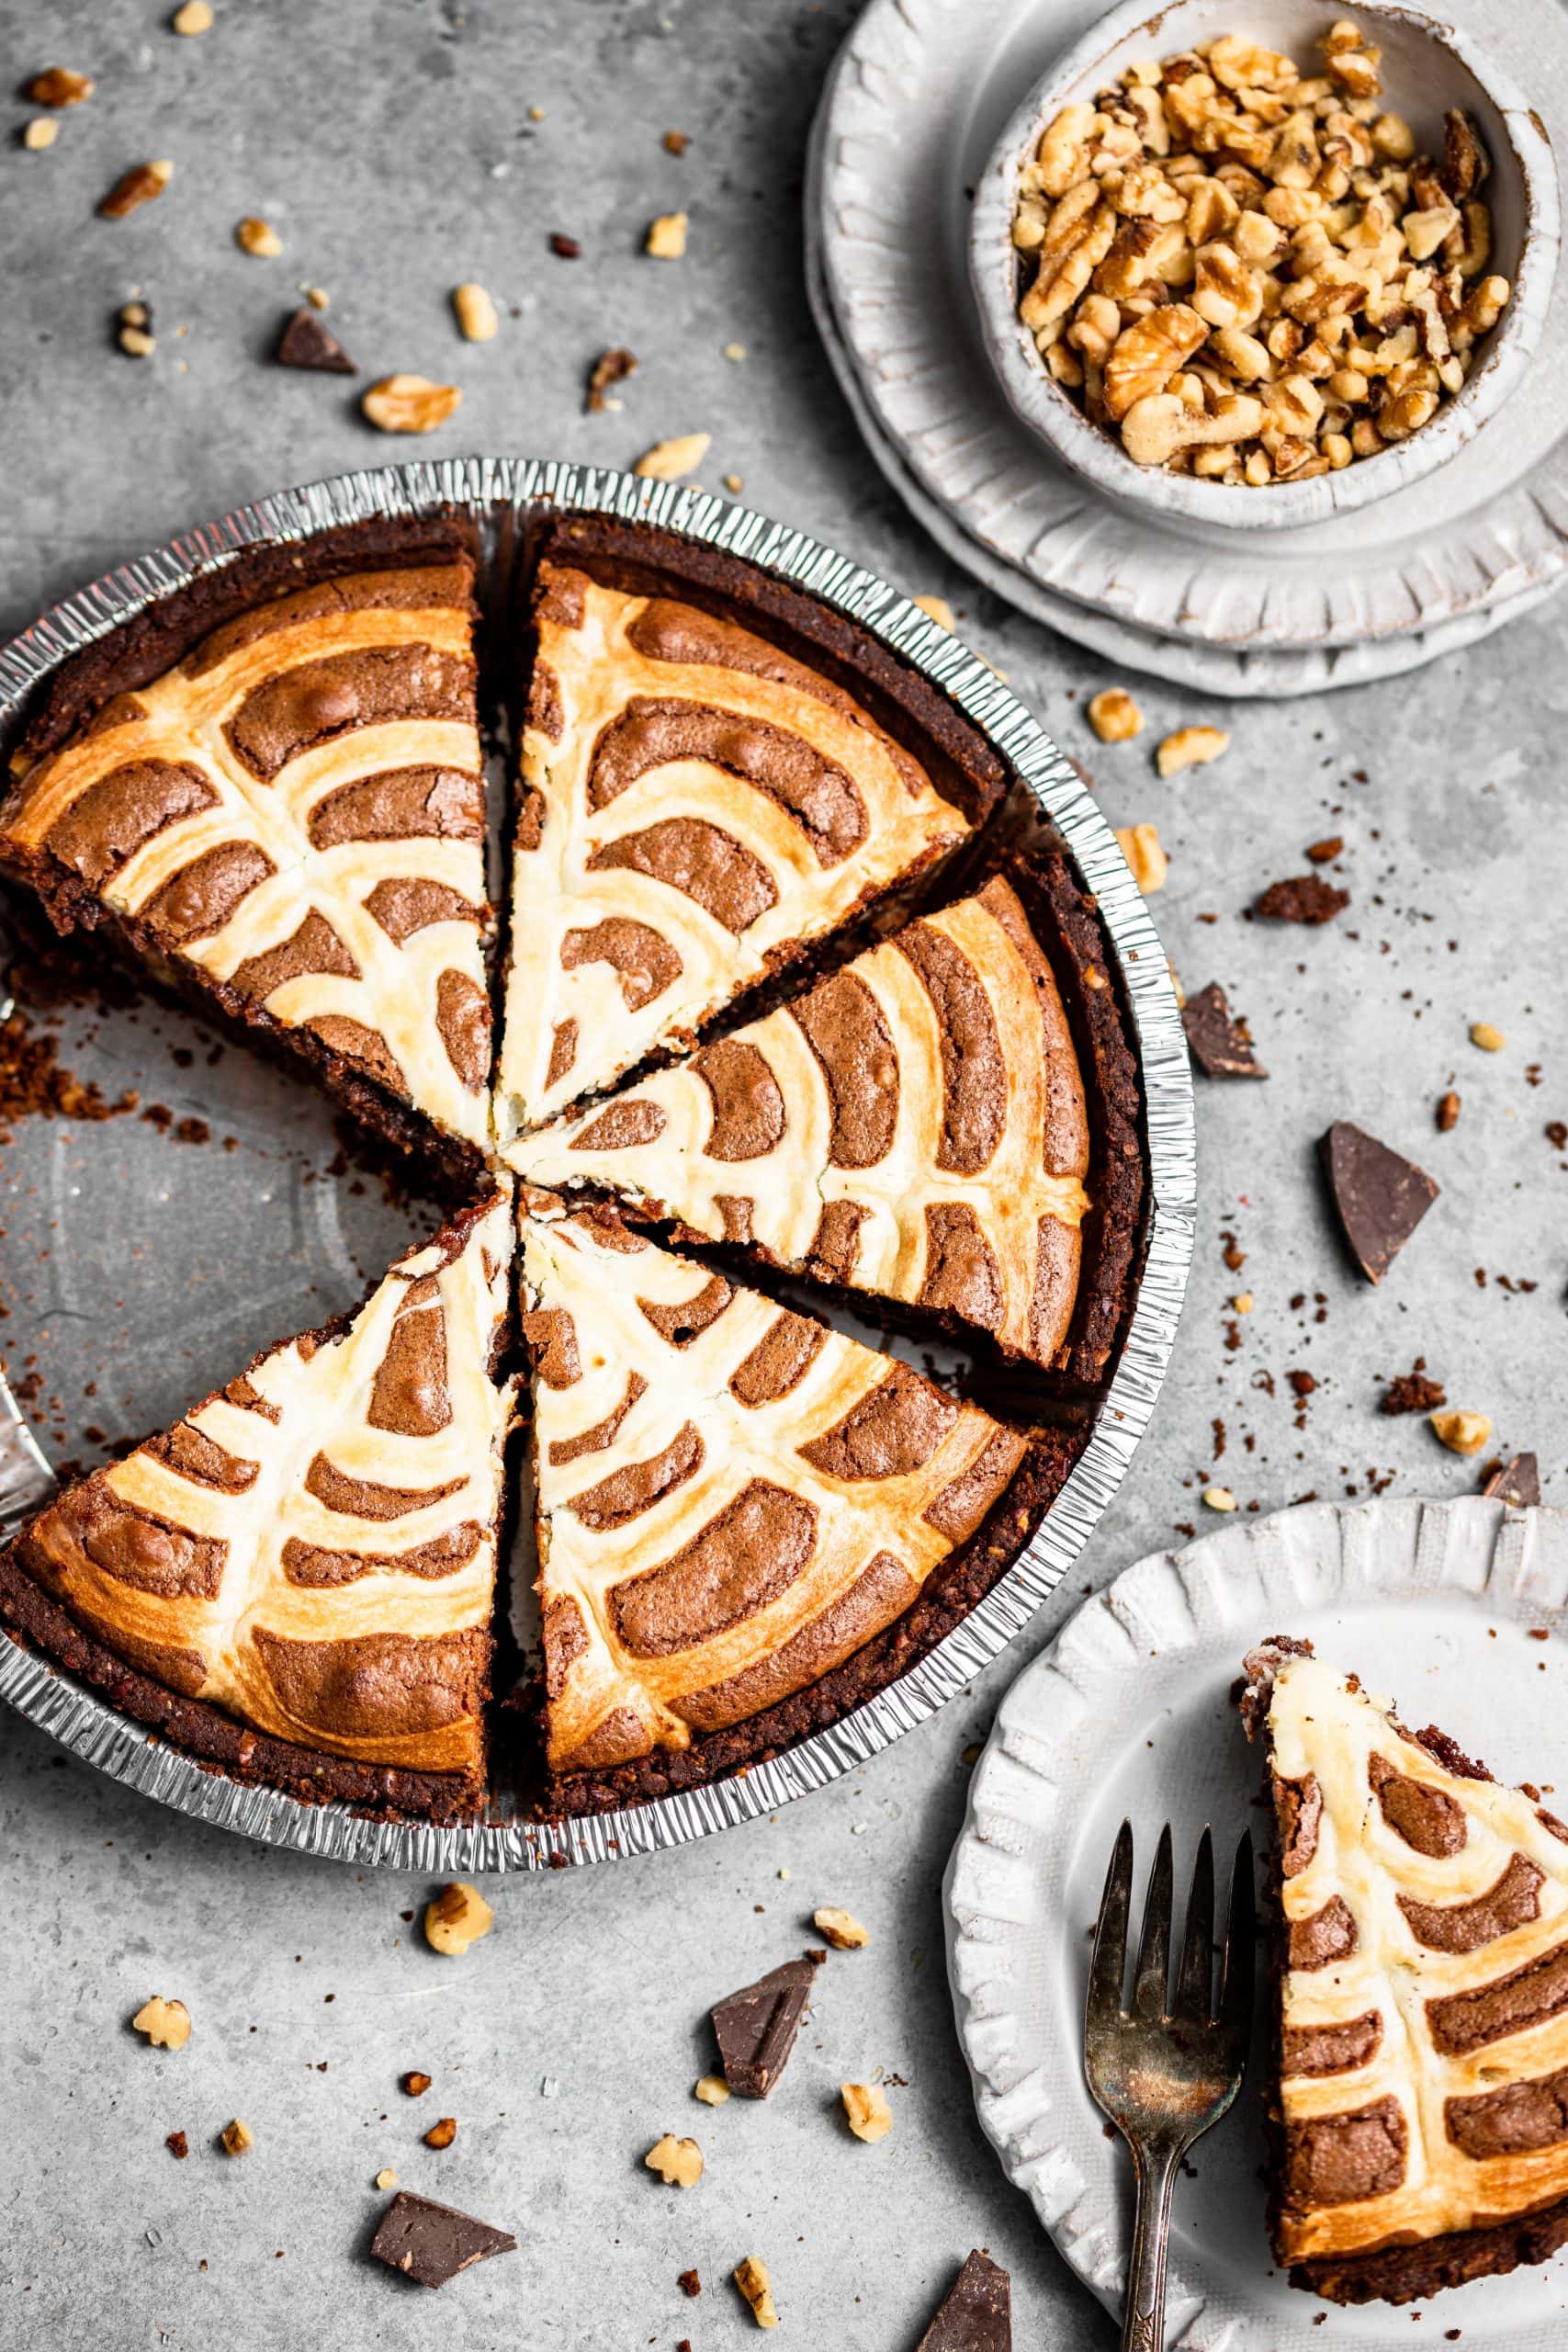
- To make the spiderweb, pipe concentric circles about ½-inch apart, starting in the center and moving out each time. Once the circles are drawn, take a knife and draw it from the outer edge of the pie to the center. The knife will draw the cream cheese filling into arcs.
- Place pie onto a cookie sheet and bake for 35-40 minutes, until the top is set and starting to crack. The pie shown in the photos was baked for 38 minutes (a toothpick came out with moist crumbs). The center won’t turn to a crumbly brownie texture because of the crust – it’ll stay pretty fudgy, but if you like it more done, cook it slightly longer. Your choice!
- Cool the pie completely before slicing and serving with ice cream or whipped cream.
Notes
Nutrition
MikeBakesNYC LLC owns the copyright on all images and text and does not allow for its original recipes and pictures to be reproduced anywhere other than at this website unless authorization is given. If you enjoyed the recipe and would like to publish it on your site, please re-write it in your own words, and link back to my site and recipe page. Read my Disclosure page. This post may contain affiliate links.
JR McCormick
Greetings Mike.... A very appropriate recipe for the season. Just wanted to point out what is currently posted appears to be incomplete. While you describe the piping mixture/method well, I don't see the ingredients listed. Hoping it can be updated soon... like the idea of cream cheese piping and would be interested to use on this and other recipes. Thx for your contribution. --JRMc
Mike Johnson
The full ingredients list is right there in the recipe card; no update needed! You can click on "US Customary" in the recipe card as well to convert from metric measurements to cups.