
This post may contain affiliate links. Read my Disclosure page.
Table of contents
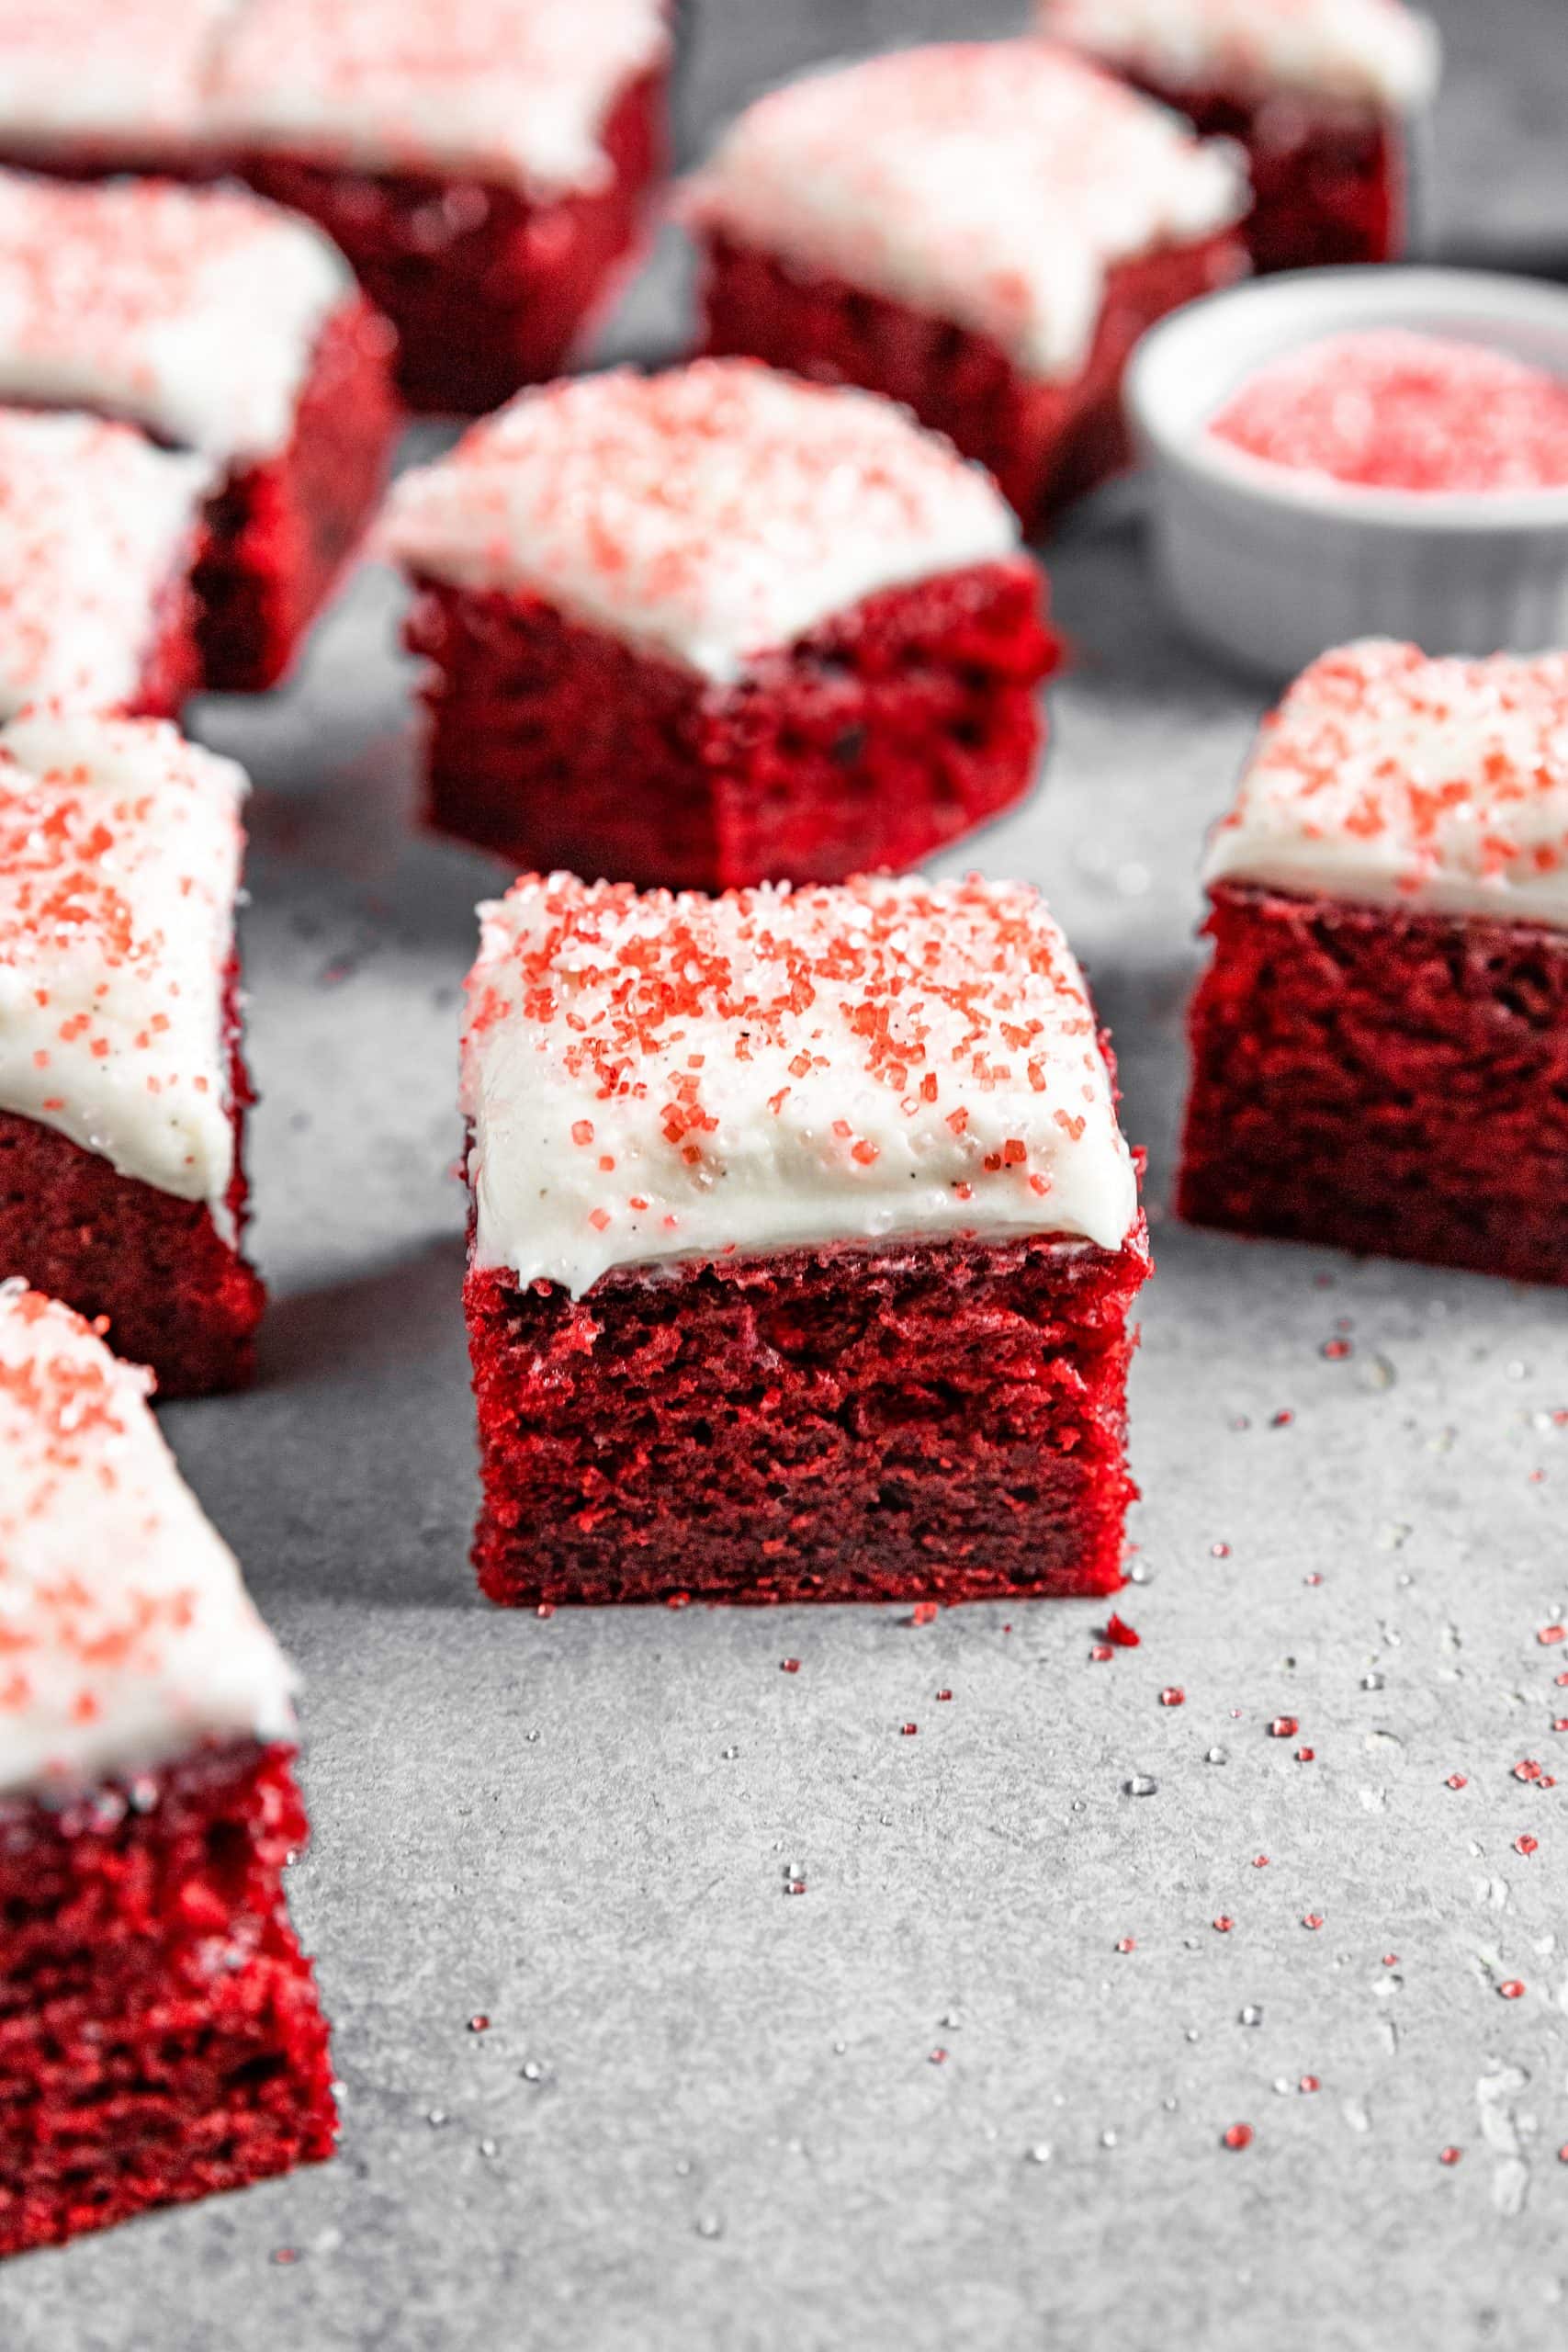
Red Velvet Snack Cake
Red velvet cake has been on my baking to-do list for a long time. I wanted a moist red velvet cake recipe with a soft crumb, the perfect red color, a delicious hint of cocoa, and the fluffiest cream cheese frosting.
As much as I absolutely love red velvet – I didn’t want the hassle of making a layer cake though. I usually can’t handle the stress of potential toppling cake layers. Not to mention I rarely need enough cake to serve a small army. So for today’s easy red velvet cake recipe – we’re making a red velvet snack cake. All the deliciousness with way less work.
Now that I’ve admitted my aversion to layer cakes, let’s discuss this snack cake.

What is red velvet cake, and what does it taste like?
Red velvet cake is the king of all cakes; the “I can’t quite put my finger on the flavor” cake. It's a glorious combination of a mild cocoa flavor, tangy buttermilk, sweet vanilla, and butter.
Red velvet cake’s texture is worth writing home about too. It’s dense and soft with a moist and velvety crumb. However, the absolute best part about red velvet cake is the cream cheese frosting.
How to Make Red Velvet Cake
I use specific ingredients and certain amounts to produce my best red velvet snack cake recipe. Begin by whisking the dry ingredients together, then beat together the wet ingredients. We’ll tint the batter red and combine the two, and then it's off to the oven!
- Cake Flour: I highly recommend that you use cake flour. Cake flour is much lighter than all-purpose and the perfect base for a light, soft-crumbed cake texture. As I mentioned above, red velvet’s texture is important to the authenticity of the flavor. If you can’t get your hands on cake flour, you can make a DIY cake flour substitute or use an equal amount of all-purpose flour.
- Unsweetened Cocoa Powder: 2 tablespoons is plenty for a little cocoa flavor without overpowering the vanilla and butter flavors.
- Butter: What sets red velvet cake apart from chocolate is its buttery flavor. Creaming the butter and sugar together will help guarantee that moist, soft, and cakey texture with a buttery flavor, aka perfection.
- Buttermilk: Buttermilk is tangy, and creamy, and makes baked goods extremely moist. You literally can’t make delicious red velvet cake without it! Additionally, buttermilk helps activate the baking soda to leaven the cake.
- Sour Cream: Similar to buttermilk, this helps give the cake a slightly tangy flavor and keeps the cake nice and moist.
- Food Coloring: Red velvet cake wouldn't be very red without food coloring. I use gel food coloring because the color is concentrated, meaning you need less of it. For natural coloring, you could use beet powder. If you don't want to use food coloring, leave it out! The cake will have the same flavor and just be a cocoa shade.
Tips to Make the Perfect Red Velvet Snack Cake
- Measure your flour correctly! Adding too much flour to the recipe is the most common mistake. The best and easiest way to measure flour is by using a scale. If you don’t have one, fluff your flour with a spoon, sprinkle it into your measuring cup, and use a knife to level it off.
- Cream your butter and sugar until light and fluffy; do not skimp on this. Your butter mixture should be pale in color, and the consistency should be airy and light. The smoother and lighter the butter mixture is, the more quickly it’ll combine with the wet ingredients and flour.
- This recipe uses gel food coloring because you need less of it than liquid food coloring. If you use liquid food coloring, you'll likely need most of the bottle (aka more than the 2 teaspoons this recipe calls for).
This Red Velvet Cake is so addictive; it’s hard to stop at one piece! Not overly sweet, but perfectly rich at the same time. You’ll see what I mean when you try it!

Red Velvet Snack Cake
Ingredients
For the Red Velvet Snack Cake:
- 155 g cake flour (or all-purpose flour)
- 10 g cocoa powder
- ¾ teaspoon baking soda
- ½ teaspoon baking powder
- ½ teaspoon coarse sea salt
- 120 g buttermilk
- ½ tablespoon white vinegar
- 1 teaspoon vanilla
- 55 g unsalted butter softened
- 150 g granulated sugar
- 115 g sour cream
- 1 large egg
- 2 teaspoon Red gel food coloring
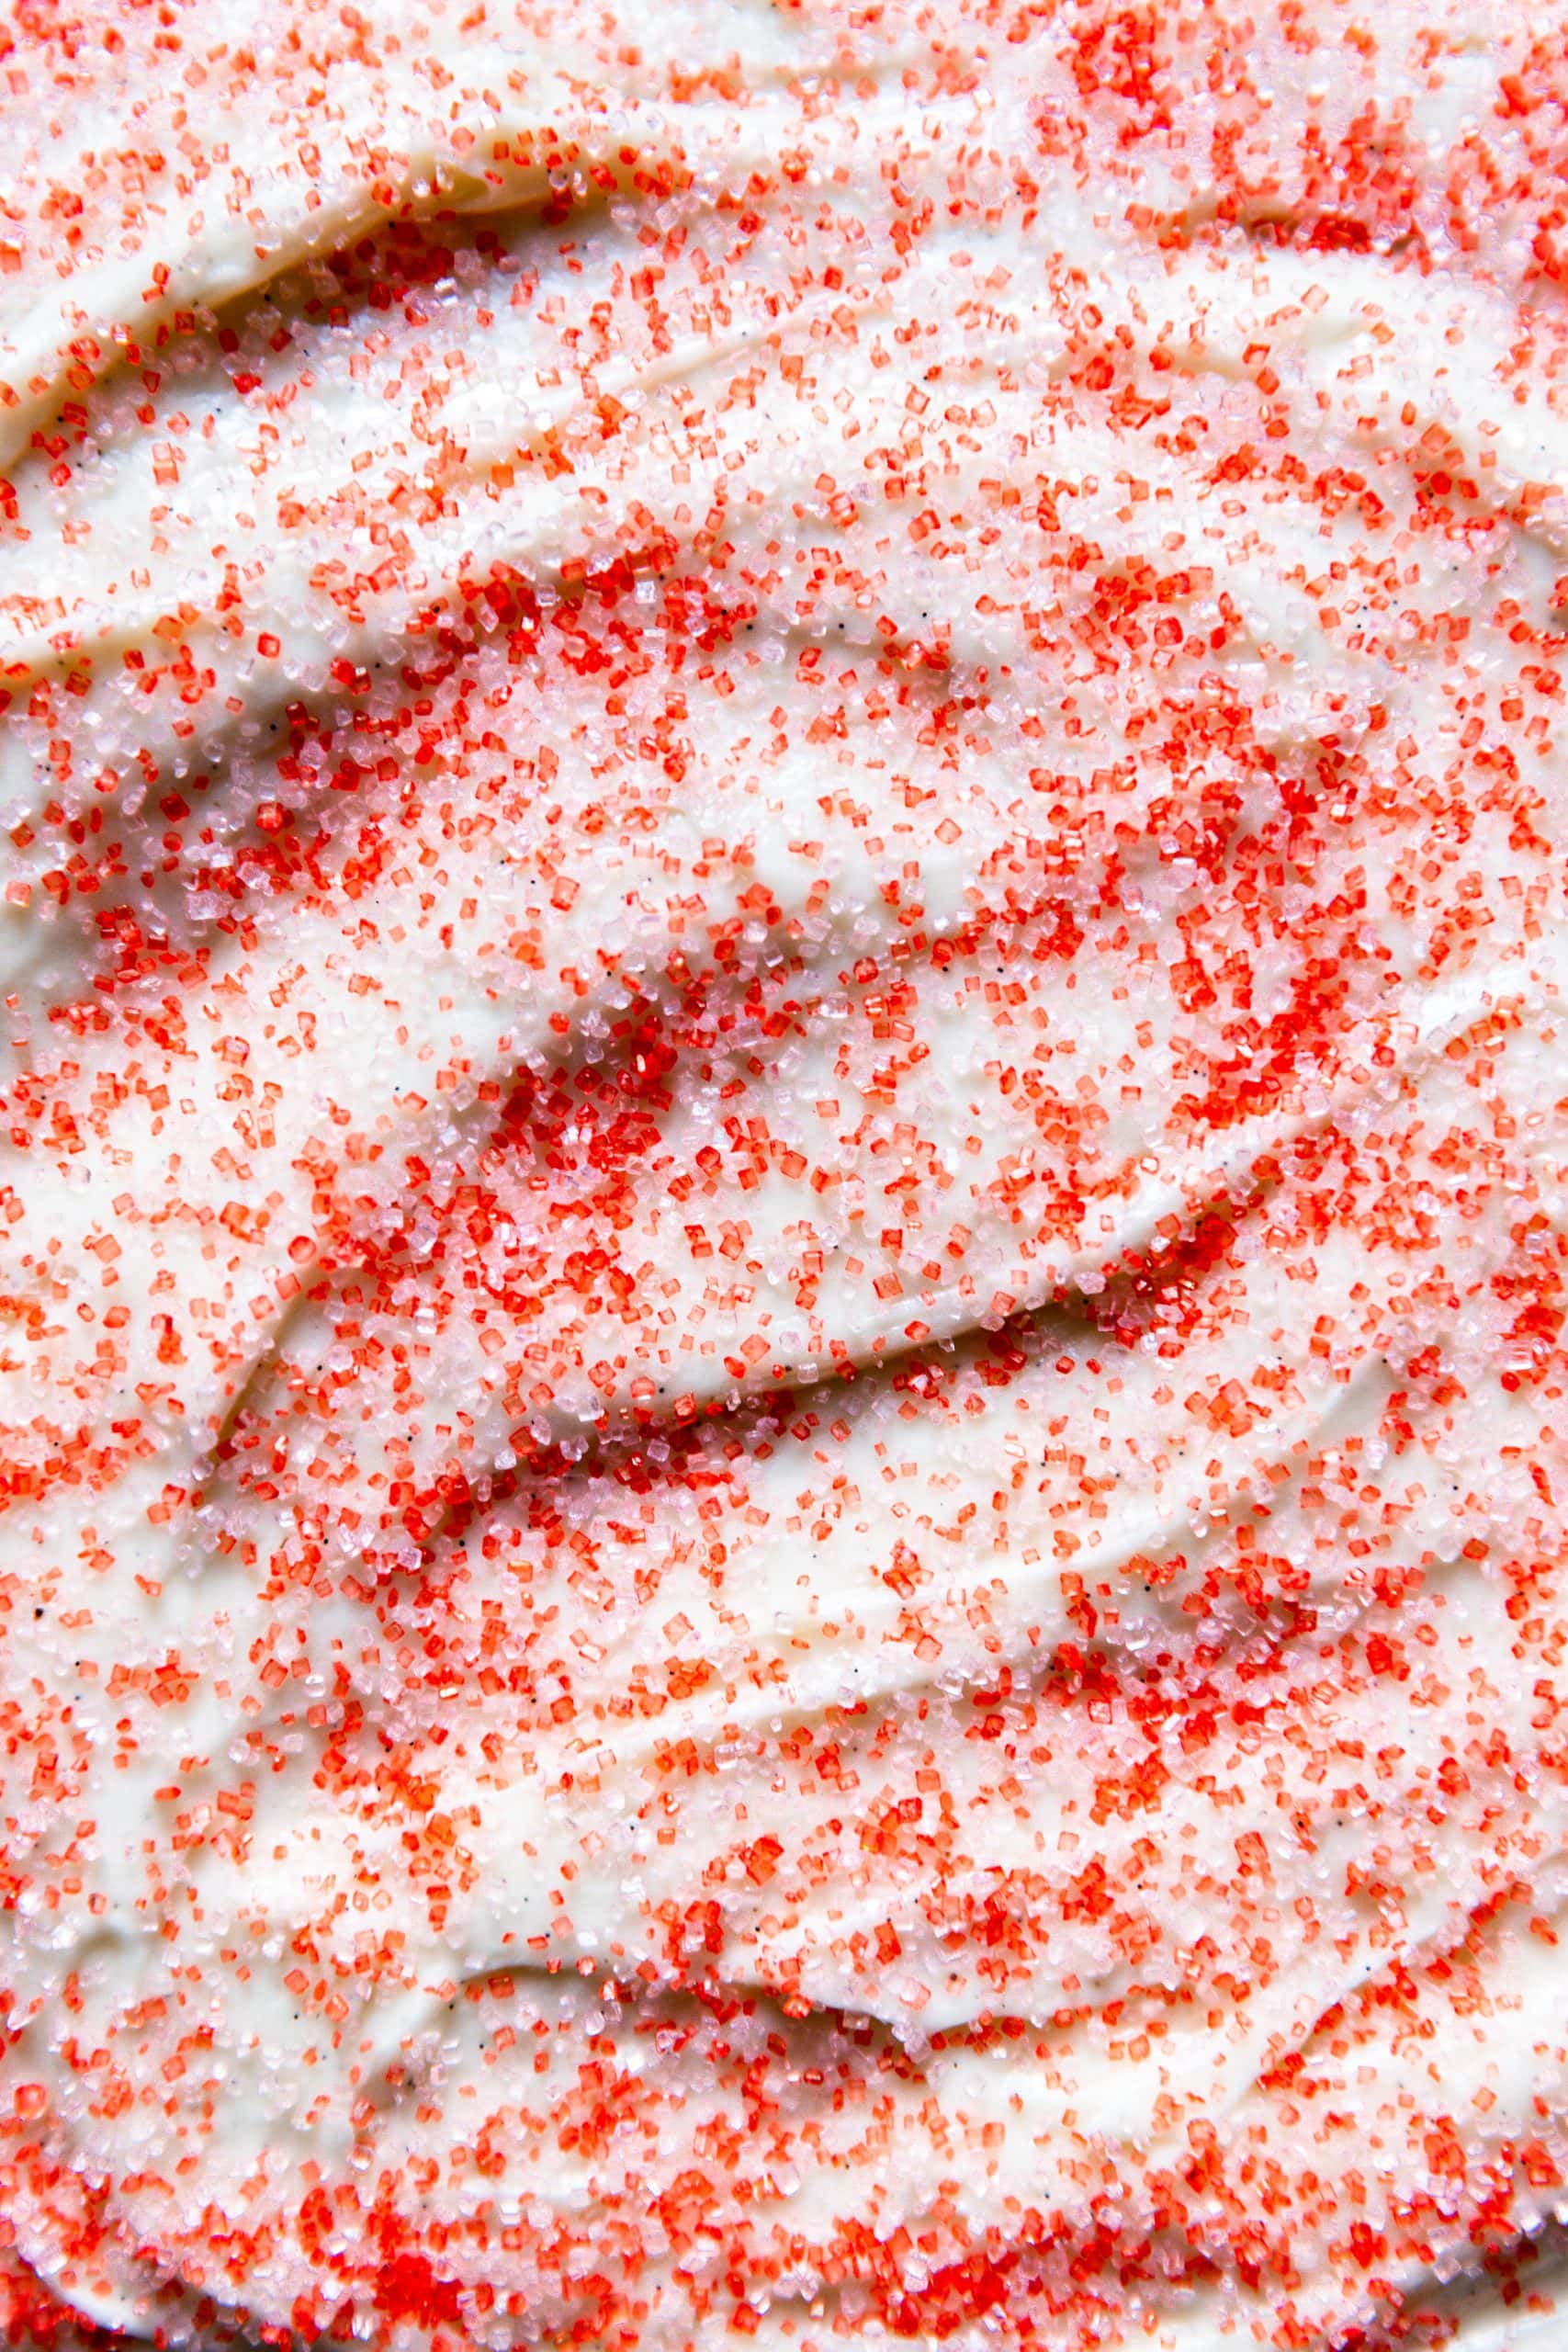
- cream cheese frosting and sprinkles for decorating
Instructions
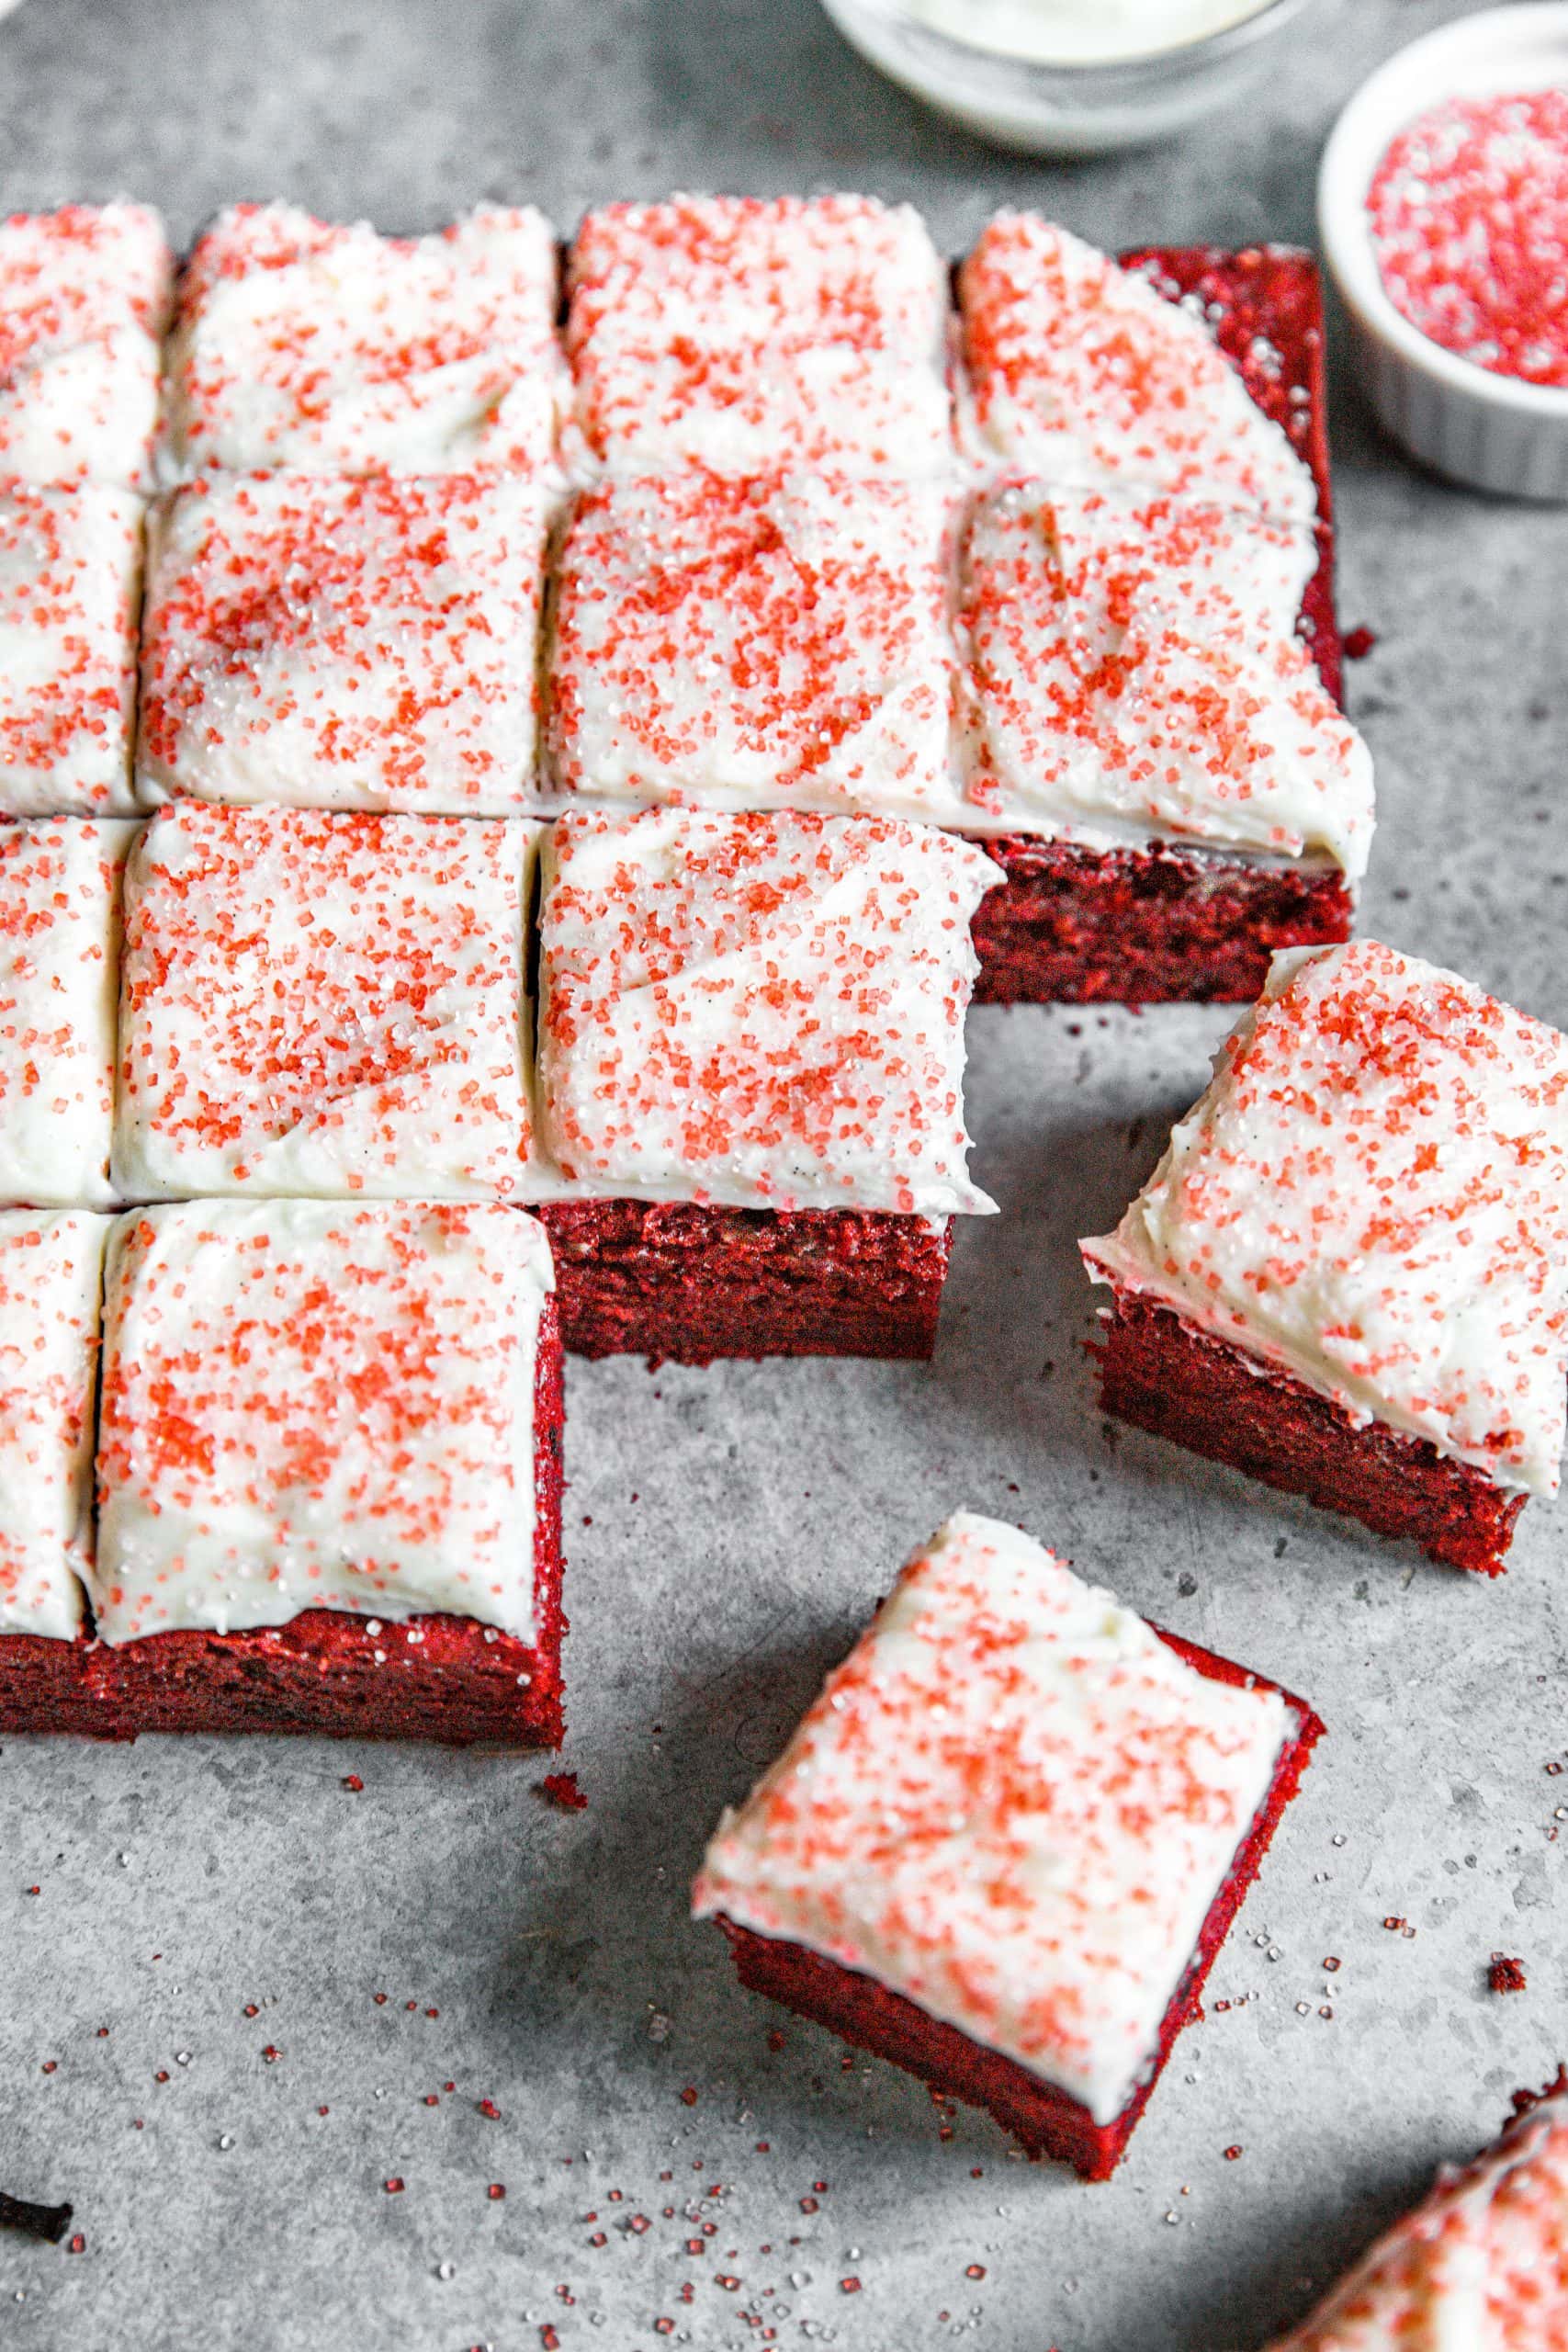
- Preheat oven to 350°F (180°C). Spray an 8x8-inch baking pan with nonstick cooking spray and set aside.
- In a medium bowl, whisk together the cake flour, cocoa powder, baking soda, baking powder, and sea salt until combined. Set aside.
- In a glass measuring cup, whisk together the buttermilk, vinegar, and vanilla until combined. Set aside.
- In the bowl of a stand mixer fitted with the paddle attachment, or using a handheld mixer, beat together the butter and sugar until light and fluffy. Add the sour cream, egg, and red food coloring, if using, and beat until well combined. Don't worry if the mixture looks slightly curdled at this stage!
- With the mixer running on low, gradually add the dry ingredients, alternating with the buttermilk mixture. Stop the mixer occasionally to scrape down the sides of the bowl.
- Pour the batter into the prepared pan, and smooth out evenly with a spatula. Bake the cake for 28-30 minutes or until a toothpick inserted comes out clean and relatively crumb-free. Allow the cake to cool completely before frosting.
- Frost cooled cake with cream cheese frosting and top with sprinkles of your choice. Cover leftover cake tightly and store in the refrigerator for up to 5 days.
Nura
I used this recipe but swapped cake flour for GF flour. We all loved it and my daughter has requested I make it 2 weekends in a row. Thanks for the great recipe that will remain a staple in our household!
Kay
I’m confused about the liquid measurements. I’ve never seen liquid weighed before. Usually when I’m trying out recipes that use weights (which I prefer and thank you very much for doing!) liquids are measured in liters, etc. in this recipe do you actually pour the liquid into containers on scale and literally weigh it? Just seems confusing to me. Thanks tons for answering. Your blog looks fantastic!
Mike Johnson
haha yup! nothing tricky here. just set the glass measuring cup on the scale and add the ingredients to it!
cassie
I made this yesterday to take to work tonight. Unfortunately, it looked so good I couldn't wait and had a big piece - it's delicious! I only had liquid food coloring so it is a light maroon color but still pretty, and my coworkers will love it. Even though it is only now 3/4 of a cake...
Lukas
A terrific recipe!! I made baked it in a quarter sheet pan and it worked perfectly.
Marily
This is literally the best red velvet cake I've ever had!!! I made 3 layers and turned it into a birthday cake for my mum and everybody loved it! Thank you Mike for this delicious recipe!
Samira
Keen to try this out Mike! Am I able to double the quantity and make it in a bigger pan?
Michael Johnson
Yup! You can double the recipe and bake it in a 9x13-inch pan. I would check the cake after the first 30min of baking and then every 2-3 minutes until it's done!
Sheri
Is it possible to use the same recipe for cupcakes?
Michael Johnson
Absolutely! Just fill cupcake liners 1/2 – 2/3 of the way full. Bake for 20-21 minutes or until the tops of the cupcakes spring back when gently touched and a toothpick inserted in the center comes out clean.
Taylor
My mom and I had the best time making this together!! On day three and it's every bit as moist and delicious as it was on day one. I love the precise gram measurements and how cute it is for the holiday season!! Thank you, Mike!
Amy
Made this for my boyfriend’s birthday recently as there was only 2 of us and I didn’t want to go crazy making a big cake. It was so good! Just the right amount of sweet with a hint of cocoa. The texture was soft and fluffy. I did cut back on powdered sugar in the frosting by about half because I like my frosting not super sweet but it still turned out well! Thanks for a great easy recipe.
Lisa
Hi Mike
I’m going to bake this recipe tomorrow and really hoping I can use 1/2 cup of Greek yogurt instead of the sour cream? Will this be ok?
Michael Johnson
Absolutely!
Ronak Mehta
Thank you for sharing this delightfully easy, mouthwateringly delicious recipe. Have baked this cake several times since I first tried it a few weeks back and it’s been a huge success each time!