
This post may contain affiliate links. Read my Disclosure page.
Table of contents
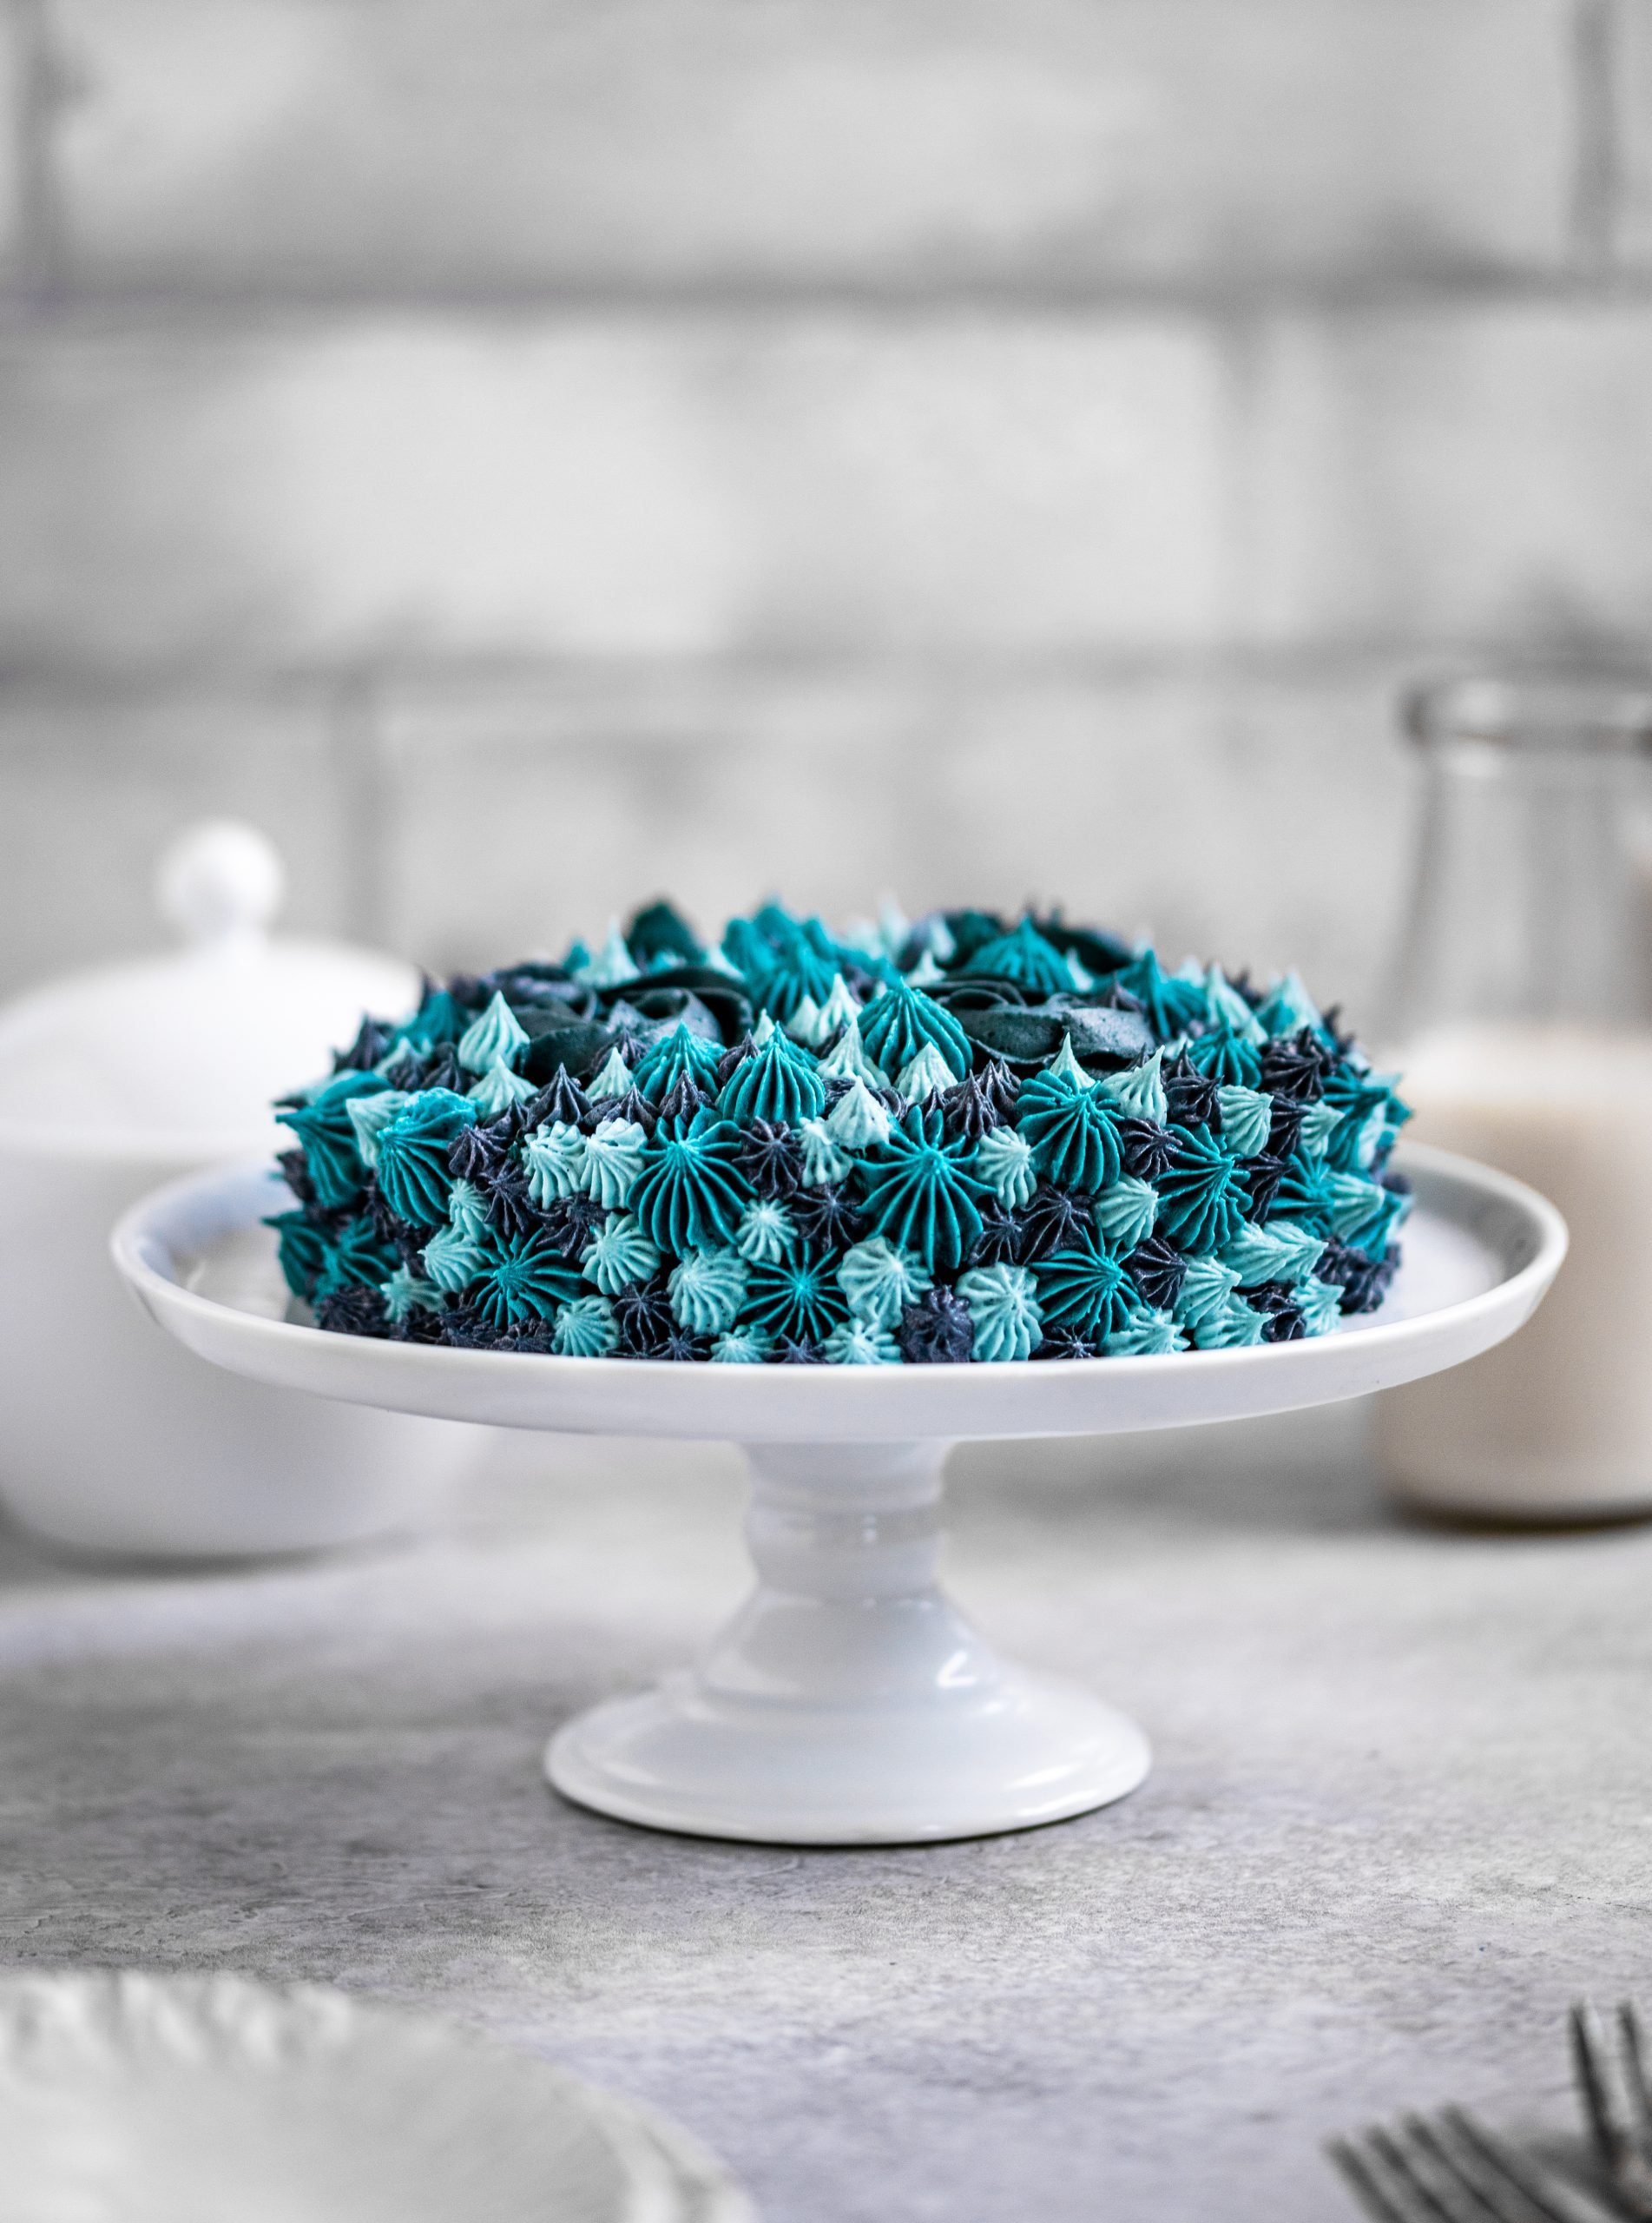
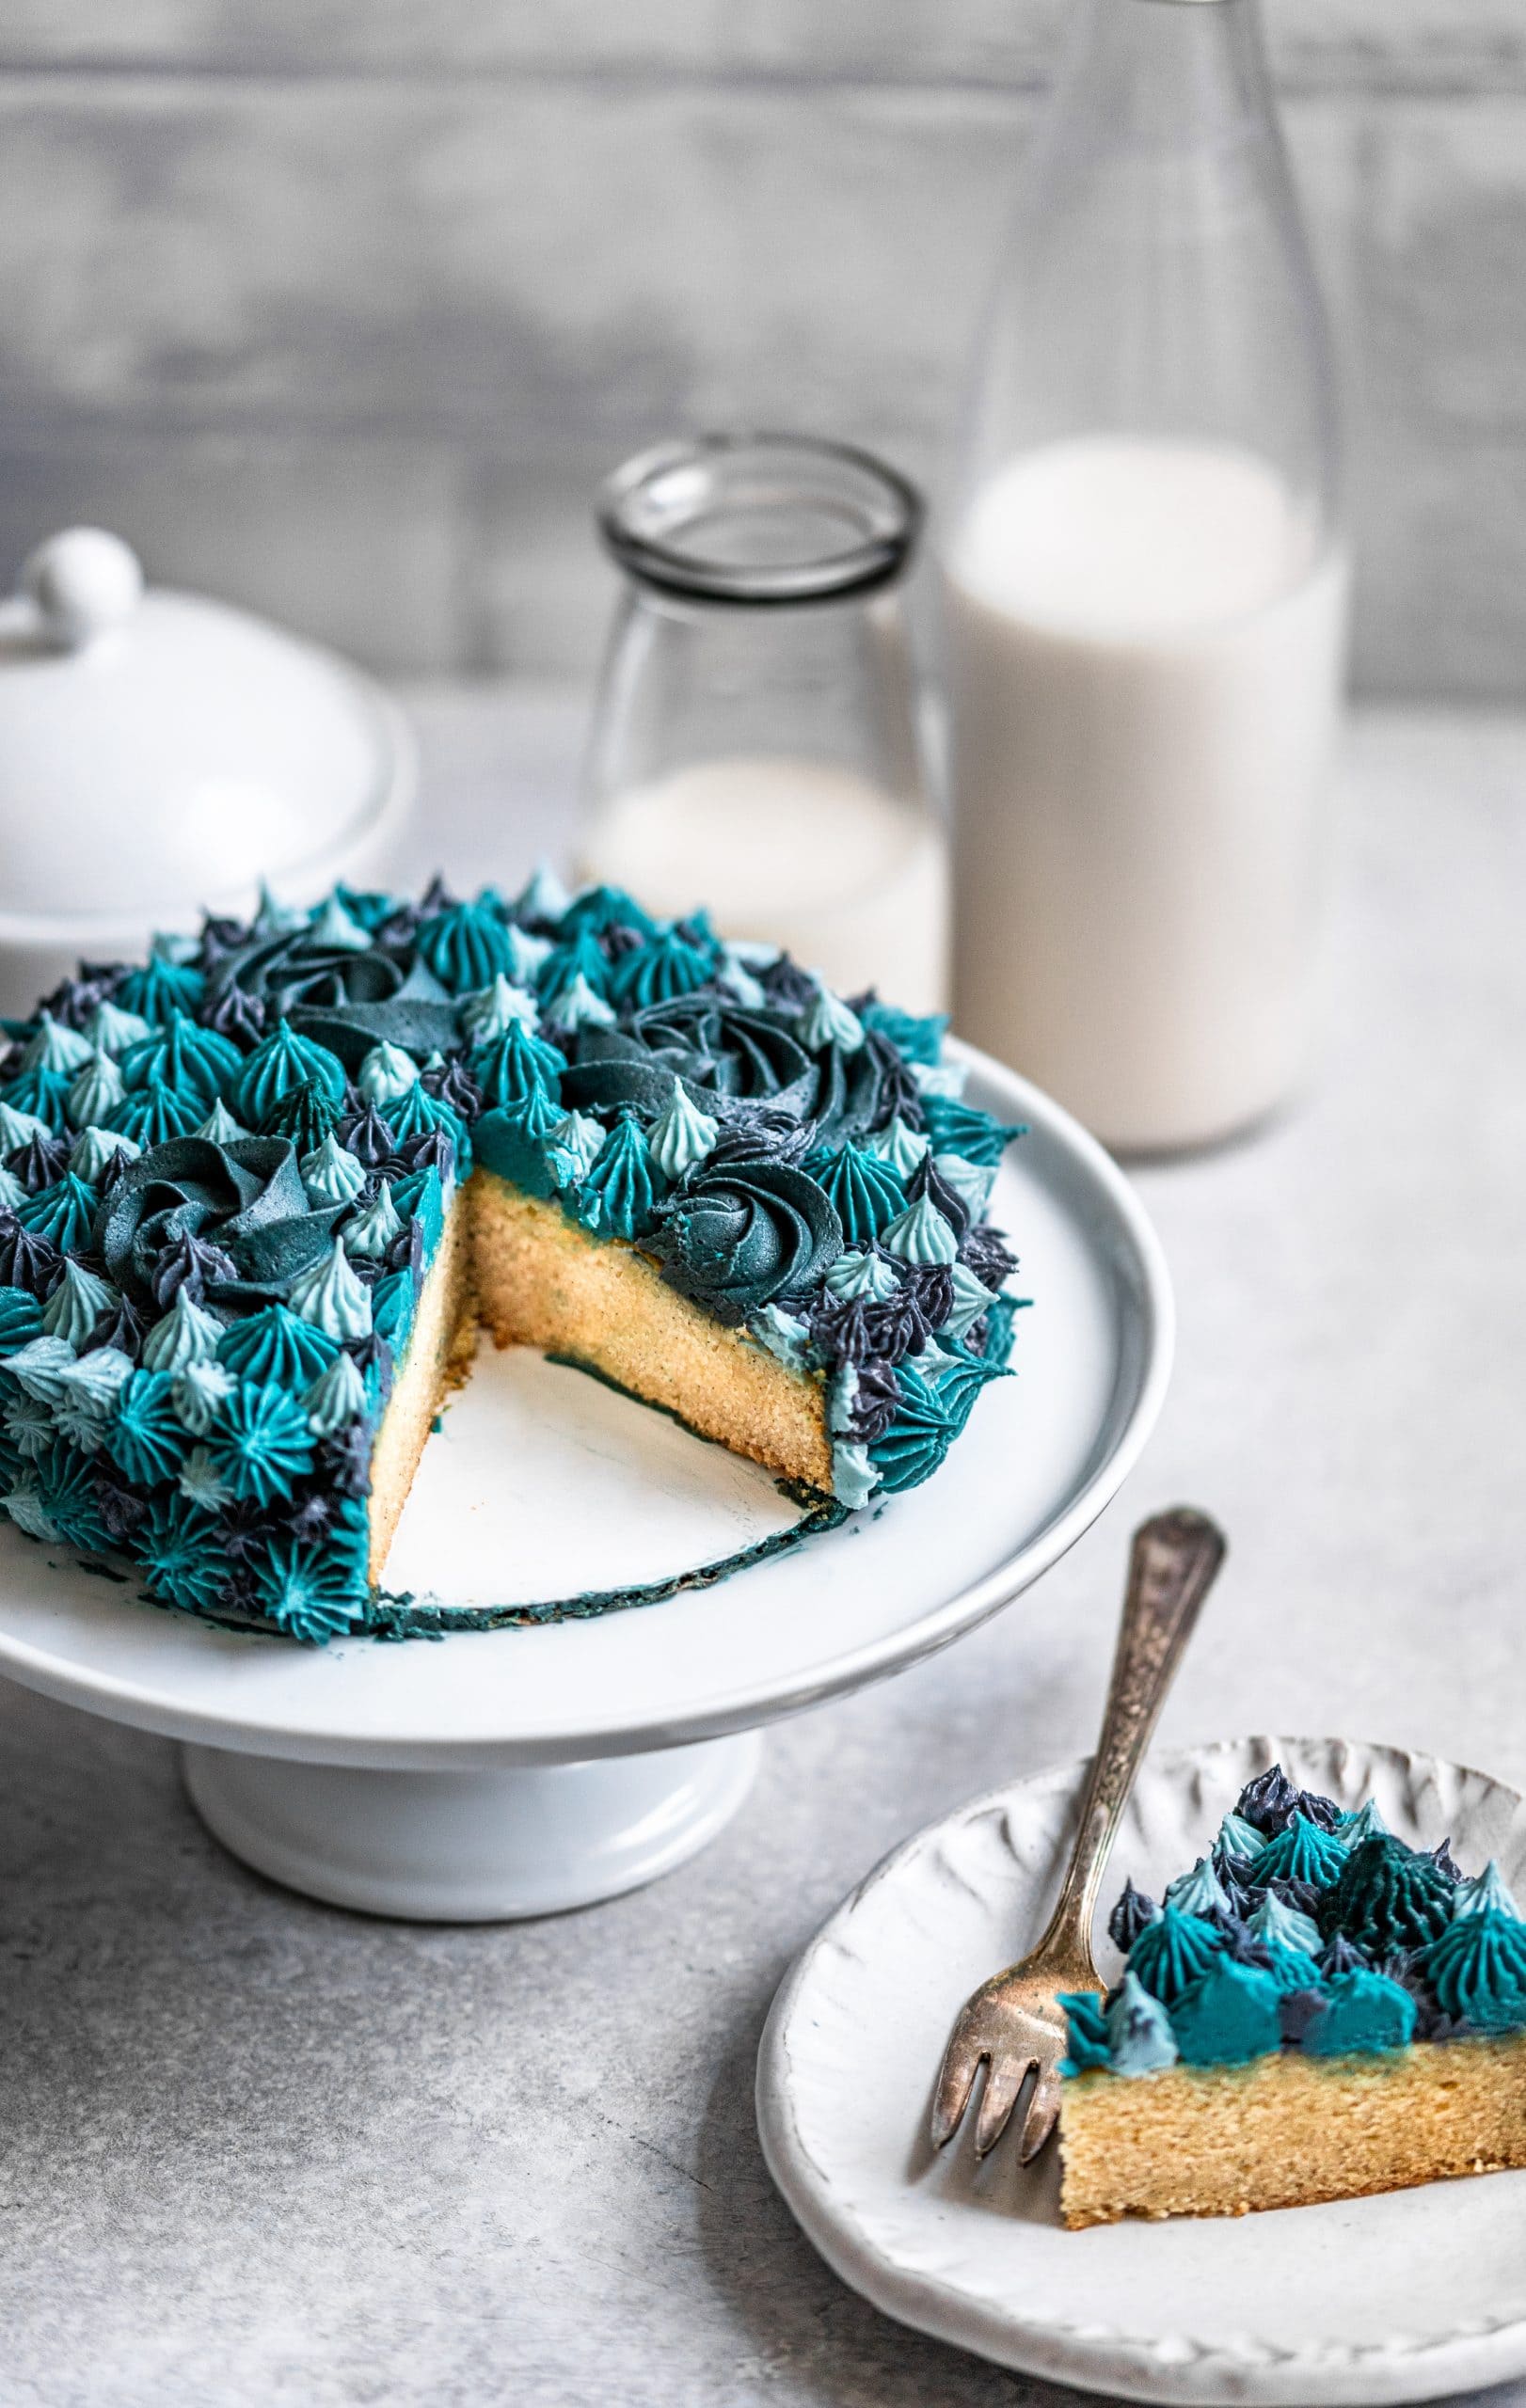
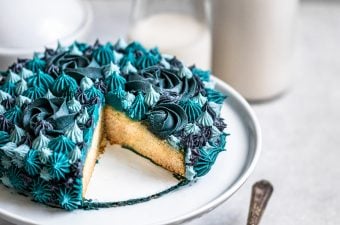
This recipe makes a one-layer 6-inch vanilla cake, which you can cut into four to six cute little slices. And as people practice self-isolation amid the coronavirus pandemic and stores run low on a lot of supplies, you may find yourself rationing your ingredients; that makes this small cake, which uses minimal ingredients, an even more perfect treat for quarantine baking.
The cake is soft, incredibly moist, and totally adorable. And like any good vanilla cake, this one’s buttery and chockful of vanilla flavor!
Ingredients for a Small 6-Inch Vanilla Cake
This small 6-inch vanilla cake recipe doesn’t require a ton of ingredients, which means it's super easy to make! Here’s what you’ll need to make the best small vanilla cake:
- 6-inch cake pan: Make sure you have a quality 6-inch cake pan. I started using Fat Daddio’s cake pans last year after my friend Erin from Cloudy Kitchen introduced me, and I'm absolutely obsessed. (Not sponsored, just a genuine fan.)
- Butter: The one and only. If you don't have butter, you can use 1/2 cup of vegetable oil instead!
- Granulated sugar: Pretty self-explanatory.
- Egg: Only one egg is needed in this recipe to create the perfect texture.
- Vanilla: This recipe calls for both vanilla bean paste and vanilla extract; Heilala Vanilla is my go-to. If you only have vanilla extract on hand, just substitute extra extract for the paste.
- Cake flour: Cake flour has a lower protein content than all-purpose flour, which discourages gluten formation. Lower levels of gluten equal more softness and tenderness in a baked good. If you don't have cake flour on hand, you can replace it with all-purpose flour for this recipe!
- Salt: A necessary flavor enhancer.
- Baking soda: To help the cake rise.
- Buttermilk: Buttermilk brings a pleasant tang to cake and helps keep the cake tender by inhibiting gluten formation. If you don't have buttermilk on hand, use six tablespoons of milk (any kind) with 1/2 teaspoon of white or apple cider vinegar!
How to Prep Your 6-Inch Cake Pans
Smaller cakes can be a bit more difficult to release from the baking pan neatly. Here’s my cake pan prep so that your 6-inch cake plops right out:
- Make a parchment paper round. Trace the bottom of the cake pan on a large piece of parchment paper and then cut the circle out. (Use the bottom as some cake pans can be tapered or have a thicker rim around the top, which will leave you with a parchment round that's too large.) If you make cakes often, these pre-cut parchment rounds are amazing.
- Very lightly grease the cake pan. I swear by Baker's Joy as there's flour in the spray.
- Place the parchment round inside and grease the parchment round too. This makes for a super non-stick environment for your cake.
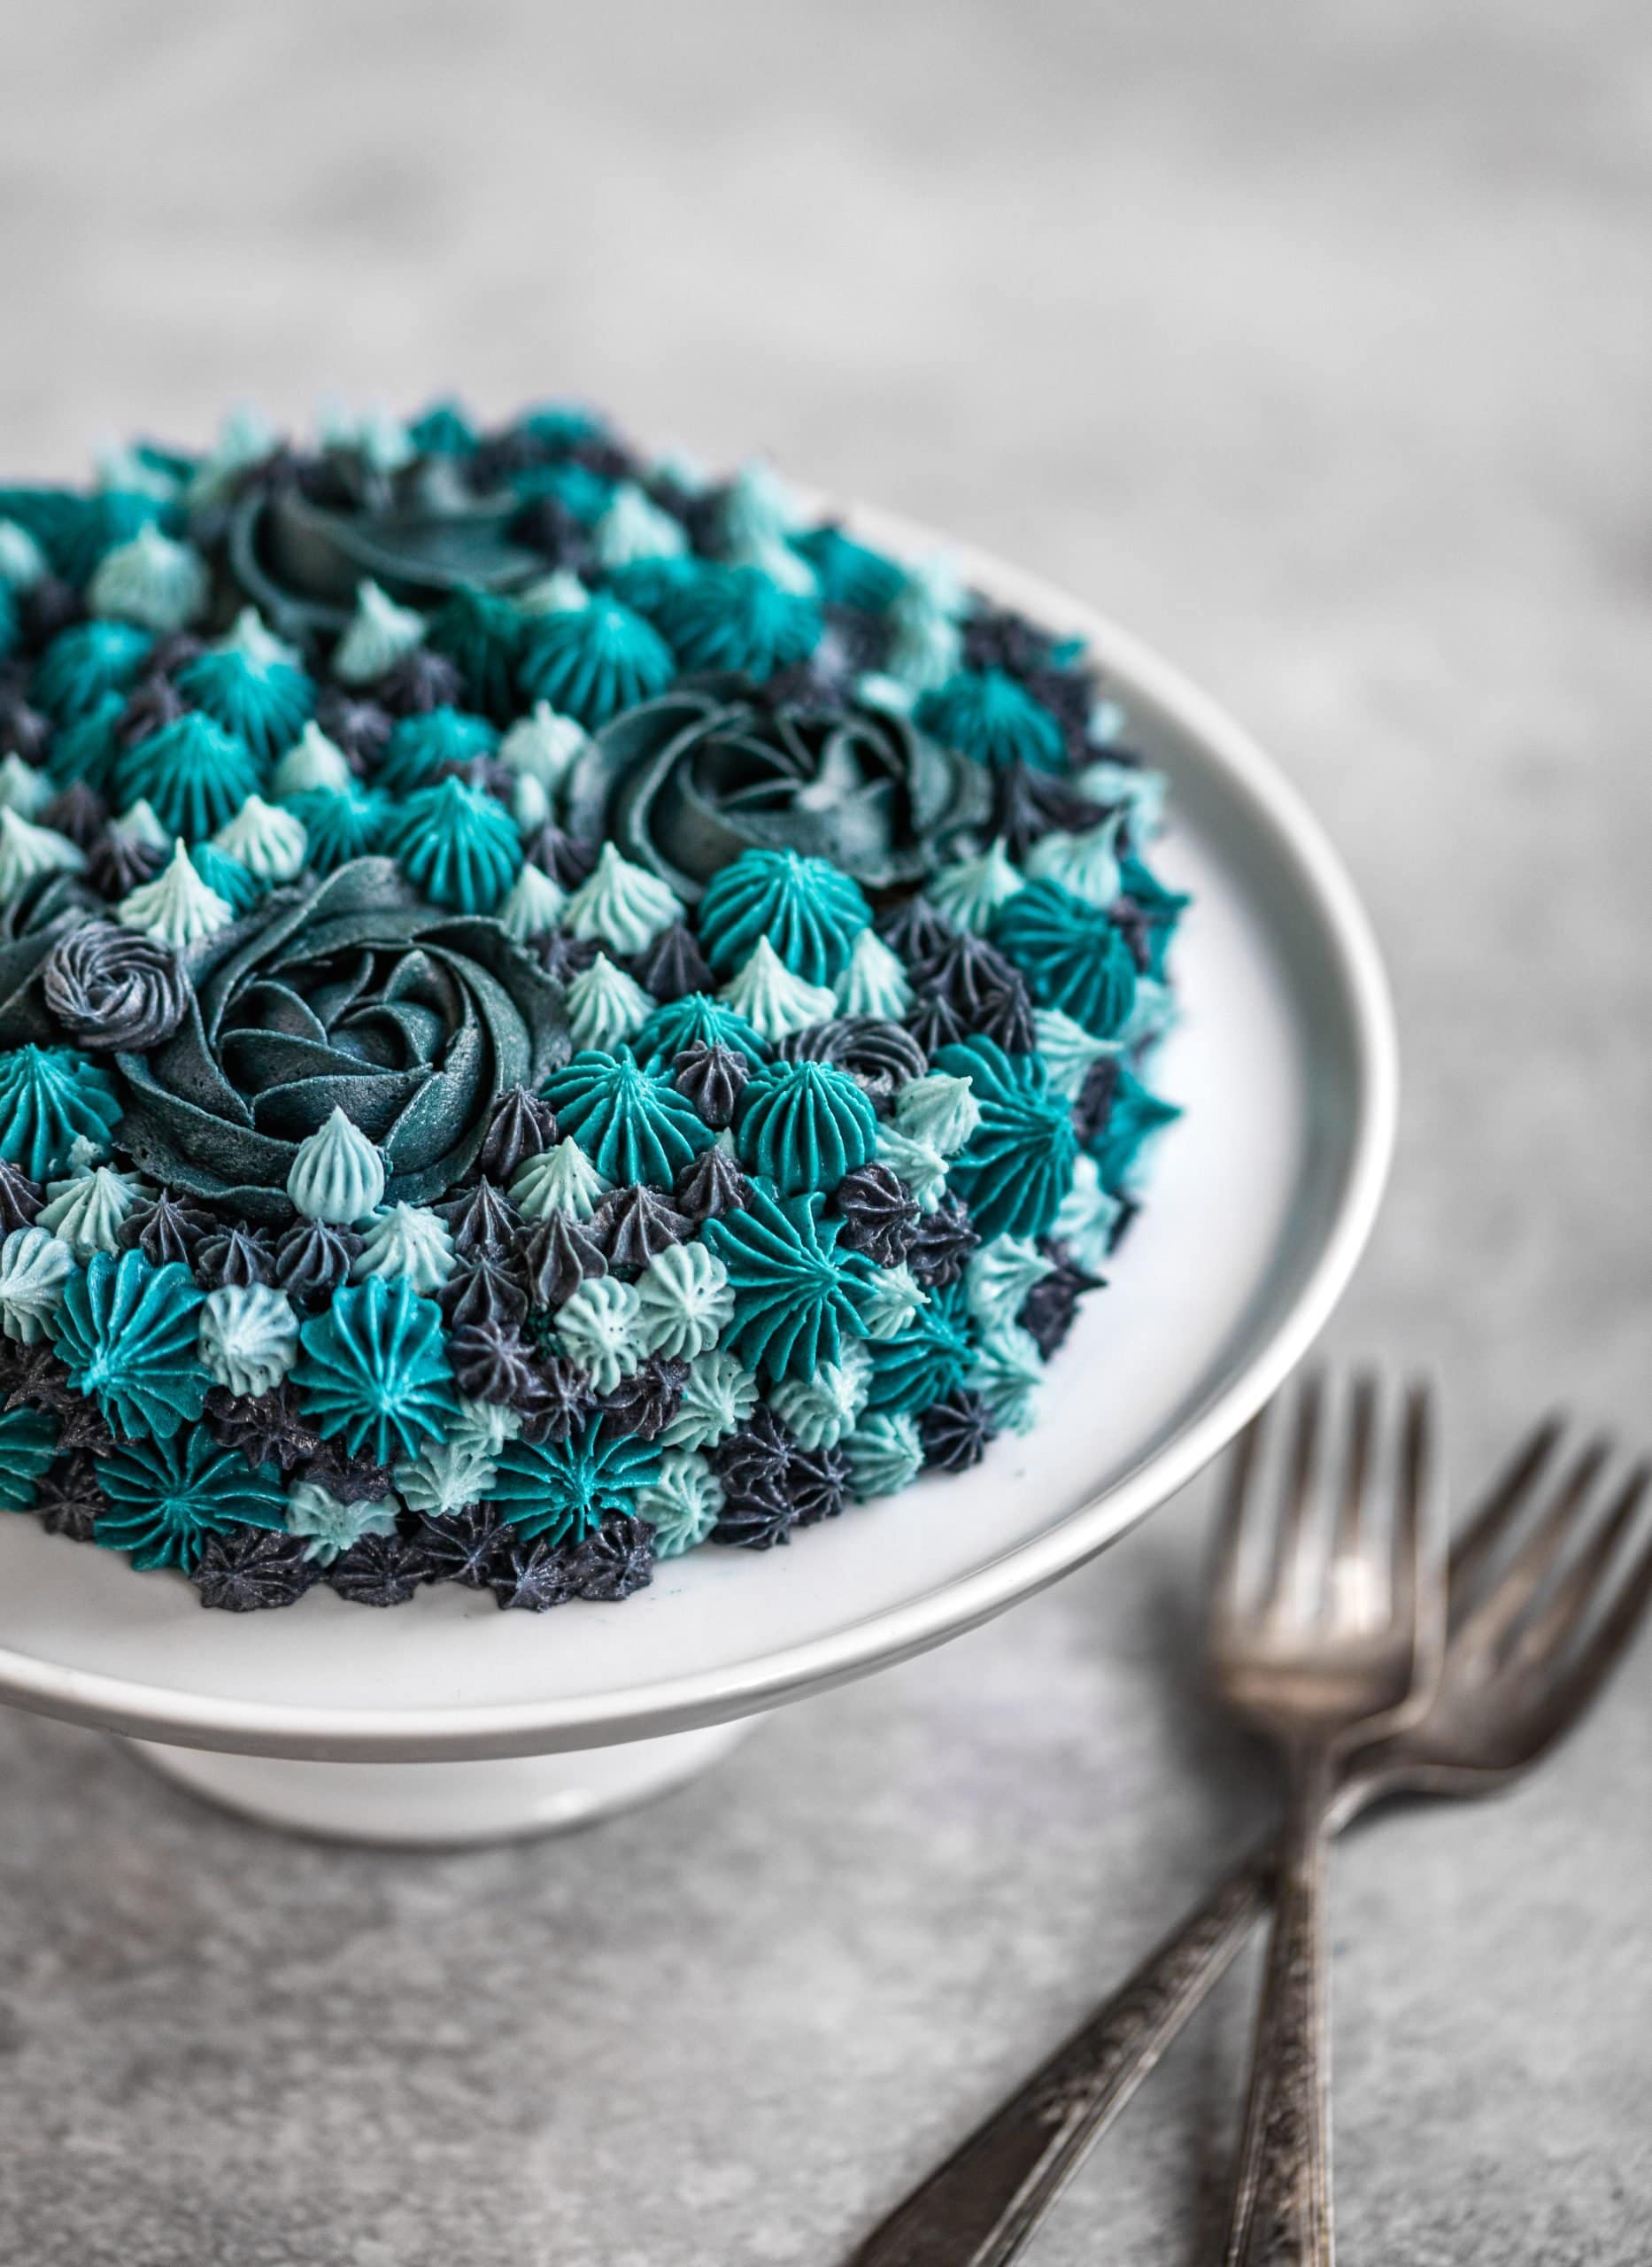
How to Frost & Decorate a 6-Inch Cake
You need about 1.5-2 cups of frosting to frost a one-layer 6-inch cake. Decorating this 6-inch cake is just like decorating a larger cake, but the smaller size (and having only one layer) is definitely easier to work with.
Helpful Cake Decorating Tools:
- Bench Scraper: Running a bench scraper around the sides of the cake helps to smooth out the frosting.
- Cake Turntable: A cake turntable makes it insanely easy to smooth the sides of a cake with a bench scraper.
- Small Offset Icing Spatula: Use this for spreading the frosting on the sides and on top of the cake.
- Piping Bags: If you want to go all out on decorating (like I did), make sure to pick up some piping bags and piping tips!
This vanilla cake can be baked ahead and decorated later if you want! Once the cake is baked and completely cooled, wrap it tightly in plastic wrap and place it in the fridge. It can stay there overnight or up to a few days.
Alternatively, you can freeze the cake. Slip the wrapped cake into a ziplock bag or wrap it tightly with aluminum foil and keep it in the freezer for up to 3 months. Just unwrap the cake and get to work frosting and decorating when you're ready; it’s so much easier if the cake is cold as it’s much less crumbly that way. I like to frost my cakes straight from the freezer, which helps prevent loose crumbs in the frosting (meaning I can usually skip the crumb coat)!
There are few ways to better say, "I think you're pretty special" than baking someone a cake from scratch. Don't overmix, don't overbake, and you'll be just fine.
6-Inch Vanilla Cake
Ingredients
For the Vanilla Cake:
- 85 g unsalted butter softened
- 100 g granulated sugar
- 1 large egg
- 2 teaspoon vanilla bean paste
- 1 teaspoon vanilla extract
- 95 g cake flour
- ⅛ teaspoon fine sea salt
- ¼ teaspoon baking soda
- 90 g buttermilk*
For the Vanilla Buttercream:
Instructions
- Preheat the oven to 350°F (180°C). Spray a 6" round cake pan with nonstick cooking spray and line the bottom of the pan with a round of parchment paper. Spray the parchment paper with cooking spray and then set aside.
- Make the cake: In a medium bowl using an electric hand mixer, beat together the butter and sugar until well combined, about 1-2 minutes.
- Add the egg, vanilla bean paste, and vanilla extract, and beat until combined, about 30 seconds.
- In a small bowl, whisk together the cake flour, salt, and baking soda. Add half of the dry ingredients to the batter and beat for just a few seconds before stirring in 3 tablespoons of the buttermilk. Add the remaining dry ingredients and beat, then beat in the remaining buttermilk.
- Pour the batter into the prepared pan, smooth out the top, and bake on a small sheet pan for 35-37 minutes. To test for doneness, insert a toothpick into the center of the cake; if it comes out clean, it’s done. Allow cake to cool completely in the pan set on a wire rack while you make the double vanilla buttercream. The cake must be completely cool before frosting.
- Decorate: Using a large serrated knife, slice a thin layer off the top of the cake to create a flat surface. Discard (or snack on while decorating!). Place the cake layer upside down on your cake stand, cake turntable, or serving plate. Using an offset spatula, if you have one (a butter knife if you don’t), frost the cake on the top and sides with a very thin layer of frosting. Don't worry if there are some visible crumbs in this first layer of frosting; that's what the crumb-coat frosting layer is intended to do: lock those crumbs down. Place the cake layers in the freezer for 15 minutes, or in the refrigerator for 30 minutes. This will allow the thin layer of frosting to harden, sealing in the crumbs. Once chilled, spread the remaining frosting all over the top and sides in an even layer (or pipe it on in decorations if you're feeling fancy.) Decorate with sprinkles if desired.
- Cover leftover cake tightly and store in the refrigerator for up to 3 days.
Notes
Nutrition
MikeBakesNYC LLC owns the copyright on all images and text and does not allow for its original recipes and pictures to be reproduced anywhere other than at this website unless authorization is given. If you enjoyed the recipe and would like to publish it on your site, please re-write it in your own words, and link back to my site and recipe page. Read my Disclosure page. This post may contain affiliate links.
Shelbie
Wonderful cake! I used my kitchen scale and appreciated the measurements in grams for more accurate baking. I used vanilla bean paste + extract, and added about 1/8 tsp of almond extract as well, because to me that’s key for creating that iconic “vanilla cake” flavor. I often bake small 6” rounds as snack cakes for my children, and this made for a fun birthday cake for a stuffed animal - but it could easily hold up to higher brow circumstances. I think this will be our new go-to recipe for a small cake!
I was short on time and ingredients, so I made a quick cream cheese frosting:
100g softened cream cheese
25g softened butter
1tsp vanilla bean paste
50g sugar
Few drops almond extract
It was the perfect quantity of frosting and not-too-sweet flavor to complement this little cake! Thanks for a great recipe.
Leela
The texture of this cake is so nice! The recipe was easy to follow and well written. I thought it was perfect, but my husband said it was eggy and not sweet enough.
AJ
Loved it!
Sherin
Hands down the best vanilla cake I've made. I subbed with oil for butter, and did not use v.bean paste coz I didn't have any. Added a tad bit more vanilla extract to compensate.
Still came out absolutely wonderful. So I'm guessing the recipe is really resilient, which I love.
Kids insisted that they wanted cupcakes, so baked it like that!
Mike Johnson
Thank you for your wonderful feedback! I'm thrilled the cake worked well with your substitutions. It's great to know it's flexible enough for oil instead of butter and works as cupcakes too! If you don't mind sharing, how many cupcakes did you get and what was your baking time? Thanks again for taking the time to comment!
Wynn
Simple, delicious! Very nice tender crumb. I used a kitchen scale, and am very glad this recipe is in grams! Thanks Mike.
RaniPhillips
This was the best cake I've ever made. It fit my 6-inch pan and the frosting was delicious. I forced myself to only eat 1/4 of it, and share the rest. I only frosted the top, so I have remaining frosting, probably enough to make another. It was thick batter, but it made for a very moist cake. I probably could have eaten the cake with out the frosting, it was that flavorful.
Kate
I totally understand it would be under my own discretion because I know if you would have tested another pan, you would have included it in the blog post. But I do not have a 6 inch cake pan but still want to make a small cake for my grandma who lives alone and was hoping it to do it in my loaf pan 9 by 4 ish. Do you think the amount of batter it makes would be enough to fill this pan?
Michael Johnson
So loaf pans generally come in two different standard sizes: 9x5" and 8x4". A 6" cake pan like the one I used for this cake holds the same amount of batter as an 8x4" loaf pan (4 cups). So in theory, there would be enough batter if you have a smaller loaf pan! The bake time will likely be different, however. I would check at 30min to begin with and then every 2-3 minutes after if it's not done. Good luck!
Kate
Perfect that very helpful I will give it a try.
Thanks
Paul
The batter is way too thick. It isn't "pourable." I had to scoop it into the cake pan. And it didn't come close to filling a 6 inch cake pan, so we'll see how it comes out after baking.
Michael Johnson
Sounds like your measurements might have been off! I recommend weighing your flour to ensure you don’t add too much!