
This post may contain affiliate links. Read my Disclosure page.
Those that know me know that I’m obsessed with macarons. (And if you haven’t had a macaron before, you’ve totally been missing out!)
Despite this obsession, however, I had decided against posting macaron recipes on my blog simply because they are notoriously challenging to make…
BUT a lot of you said you were up for the challenge and begged me to post them, so here we are. ? And these red velvet macarons are perfect for / here just in time for Valentine’s Day!

As stated above… tender, picture-perfect macarons are not easy to make. Macarons are all about technique, rather than about just following a recipe. Armed with a good recipe, almost anyone can make a decent brownie. You just mix, pour, and bake. Macarons on the other hand, require precision… and it’s for this reason that ingredients used in this recipe (as well as all future macaron recipes) are posted by their mass rather than volume. This means you need to get a kitchen scale.
I don’t say making macarons is challenging to discourage you; more to prepare you, and I’ll totally make myself available for any troubleshooting you may need! Because seriously guys… they are so damn finicky! You have to weigh the ingredients, you have to sift the ingredients, you have to make sure you fold the ingredients the correct way and the proper amount of times (too little and you end up with the dreaded hollow shell; too much and they’ll spread at flat as pancakes and not hold their shape). There are so many steps in the process, which means so many places for you to get it wrong and waste your precious time and ingredients. But before you run away in fear, keep reading; I promise it’s not that bad. We’re going to get through this together!

Before I get into the recipe, I just want to give you a heads up that you’ll find the instructions for these to be a bit longer than my standard recipes. I’ve gone into as much detail as possible in order to explain things and help you feel ready to tackle the challenge!
So as always… read the recipe before beginning and keep an eye out for the next macaron recipe! ? Have fun and get baking!
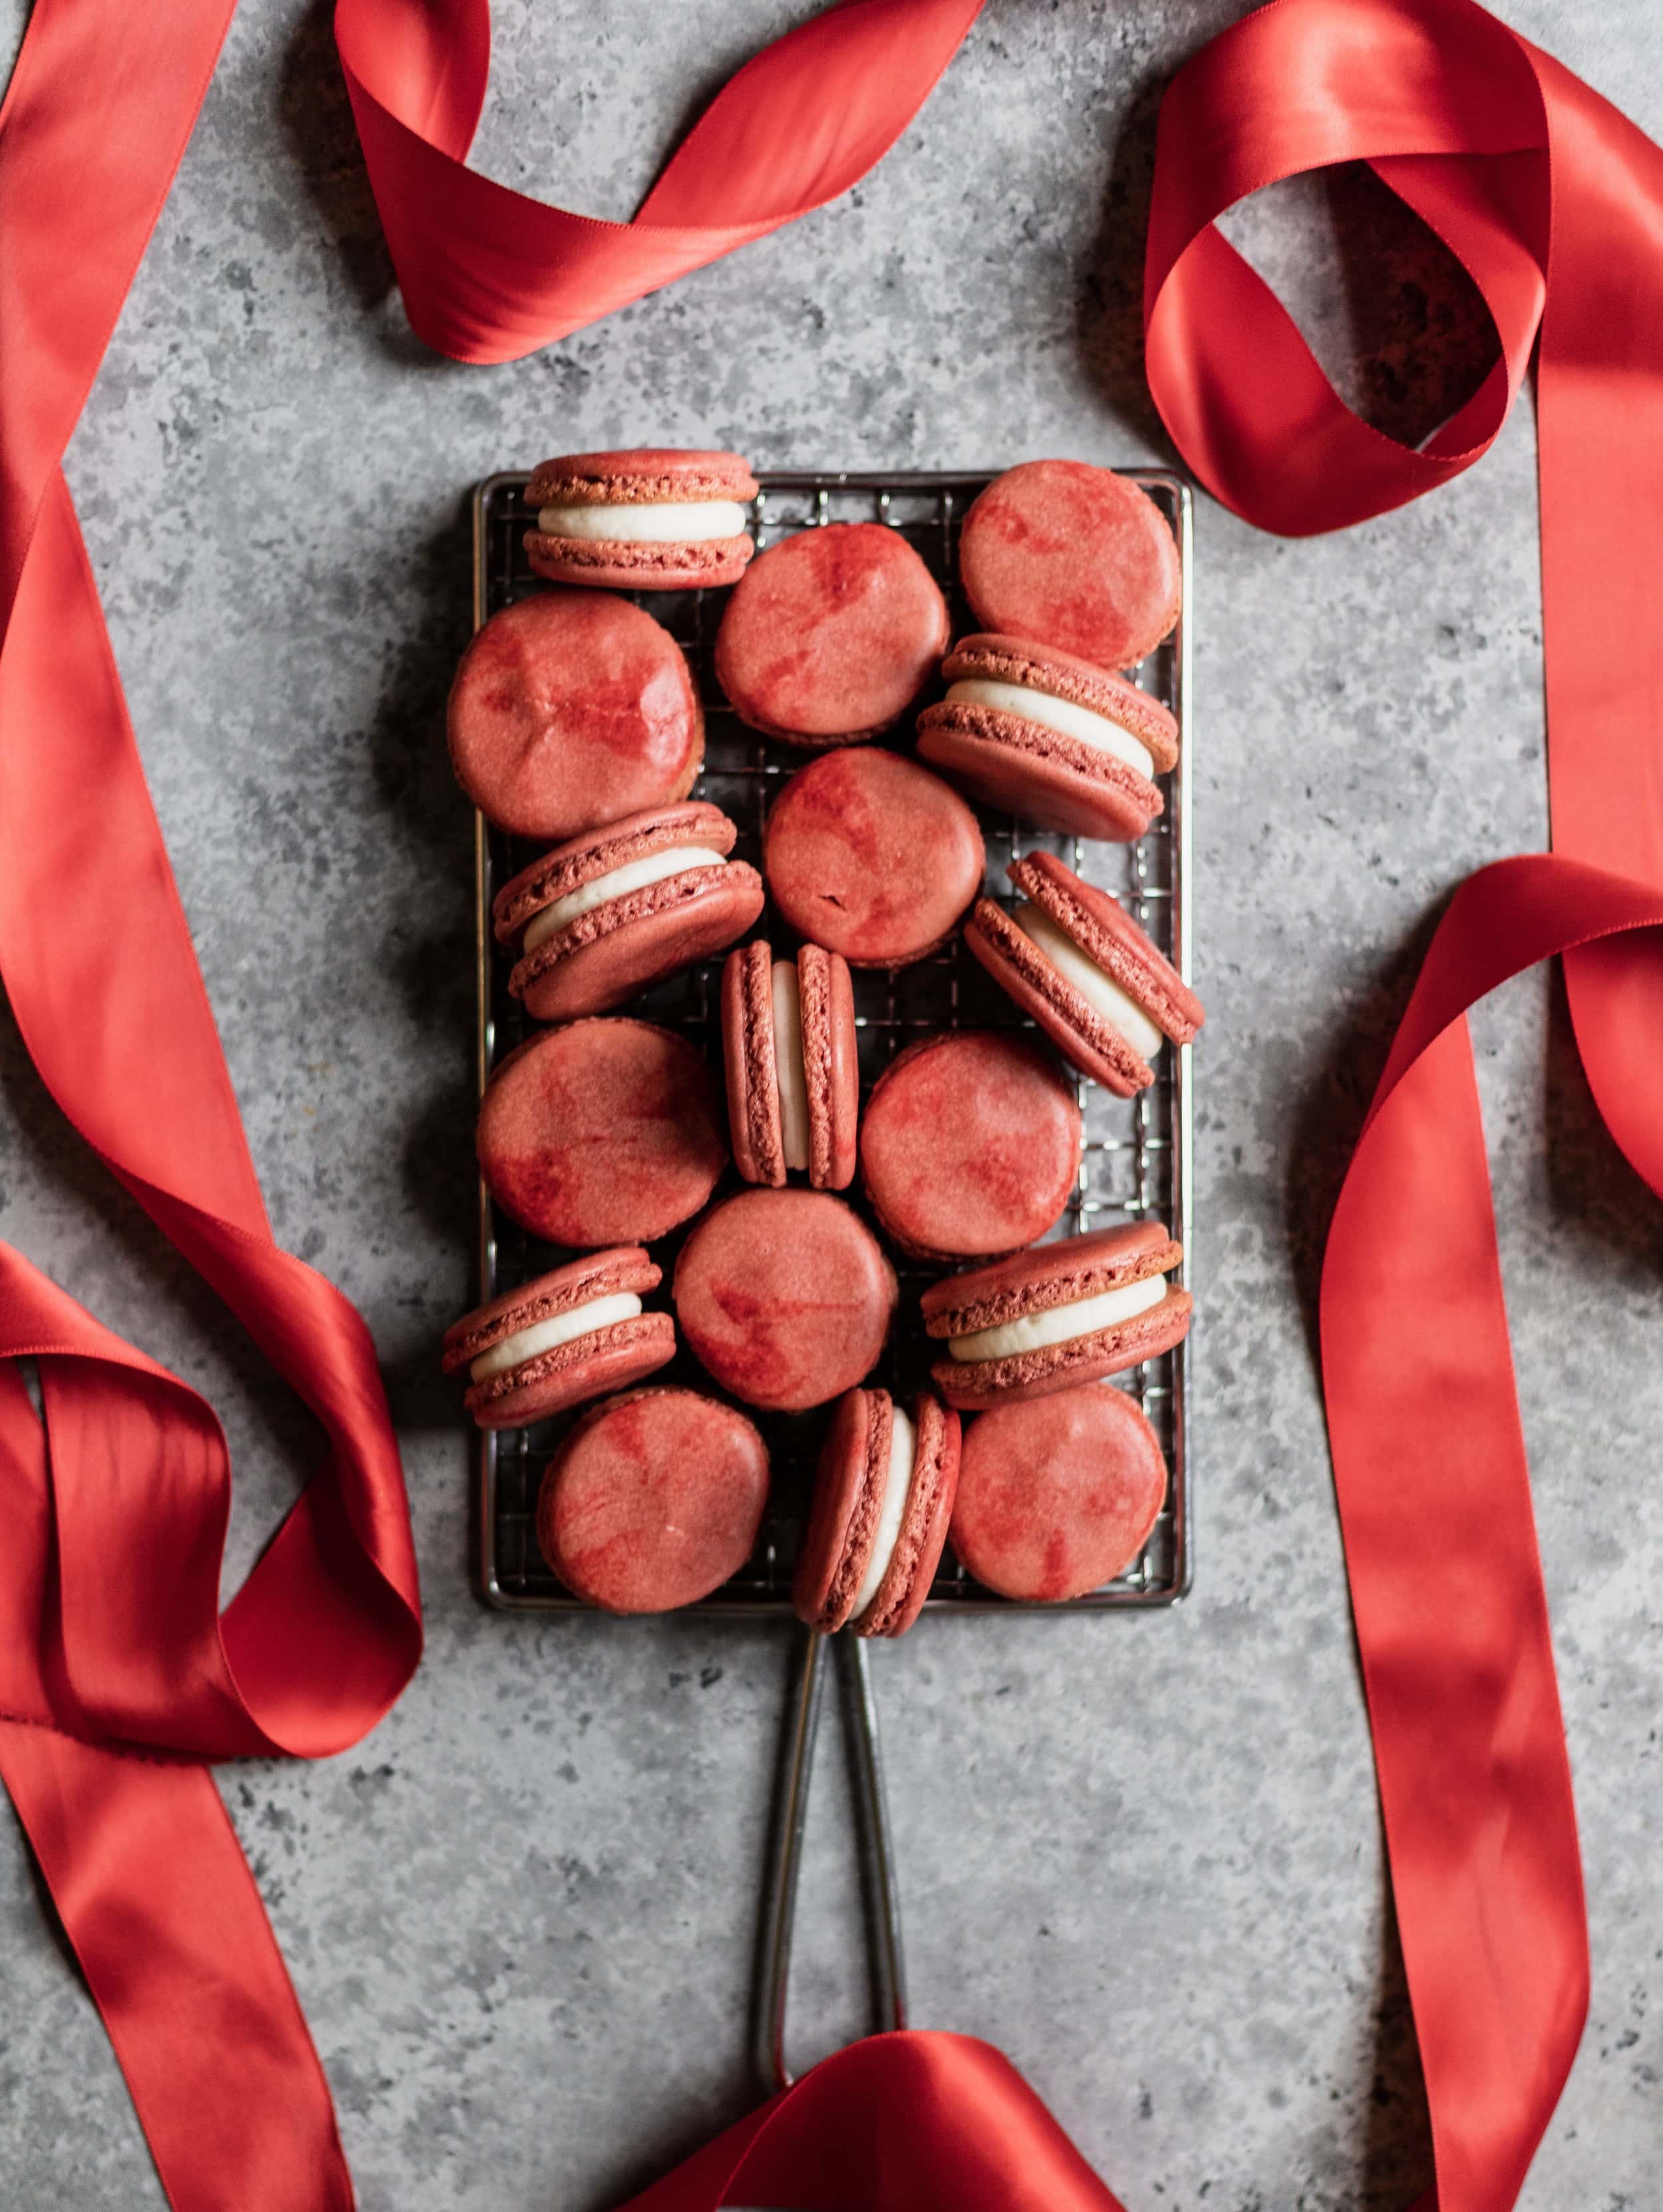
Red Velvet Macarons
Ingredients
For the Macarons:
- 100 grams egg whites (approx. 3 large eggs) at room temperature
- 100 grams granulated sugar
- ¼ teaspoon cream of tartar
- 120 grams powdered sugar
- 120 grams almond flour
- 1 tablespoon cocoa powder
- Red gel food coloring (do NOT use liquid coloring)
For the Cream Cheese Filling:
- 2 oz cream cheese softened
- 2 tablespoon unsalted butter at room temperature
- 1½ cups powdered sugar
- 1-2 teaspoon milk
Instructions
- In a medium bowl, sift together the almond flour, cocoa powder, and powdered sugar, then set aside.
- In the bowl of a stand mixer fitted with the whisk attachment, whip the egg whites on medium speed until foamy. Add the cream of tartar and continue to beat until your whisk begins leaving visible trails in the foamy egg whites.
- Once you can see trails, gradually add the granulated sugar (I generally add a third at a time, making sure to wait until the previous bit of sugar is fully incorporated into the meringue). Increase the speed to medium-high and beat until soft peaks form. Soft peaks = the egg whites falling back into itself slightly when the whisk is pulled out.
- Add red gel food coloring (be sure to use gel and not liquid food coloring as too much liquid will ruin the consistency of your macaron batter) and then beat on medium-high speed until stiff peaks form. Stiff peaks = your meringue should be clumping inside your whisk and your egg whites should stand up straight once the whisk is pulled out. (Be sure not to over-whip your egg whites otherwise you risk drying them out which will cause problems down the line).
- Add dry ingredients to meringue and fold (don’t stir) with a rubber spatula from the bottom of the bowl upward then press the flat side of your spatula through the middle (also known as macaronage). This technique when done properly will ensure that the air bubbles that you beat into your egg whites don’t all deflate when incorporated with the dry ingredients. You’re looking to beat out some of the air that was created in the whipping of the egg whites, but not so much that it’s fully deflated and prevents your macarons’ signature feet from developing. The batter will look very thick at first, but it will get thinner as you fold. Repeat the folding until batter gets to a lava-like consistency (the figure 8 test is a great way to check your consistency; pick up the batter and let it flow down while drawing the figure “8”. If it can do that, immediately stop folding) This video is a great resource to see both how to macaronage and what your batter consistency should look like.
- Transfer the batter into a pastry bag with a round tip. (I use this Wilton 2A plain round tip.)
- Pipe out 1.5-inch rounds about an inch apart on two baking sheets lined with parchment paper. (Feel free to print out a macaron template if you’re worried about size/uniformity).
- Tap the baking sheets firmly on the counter a few times to get rid of any air bubbles. If you don’t release the air bubbles, they will expand during baking and crack your beautiful macarons shells.
- Let the macarons rest and dry for 30 minutes or until a skin has developed; on a humid day, it might take an hour or more. To see if it’s ready to be baked, lightly touch it. If the batter doesn’t stick to your finger, then it’s ready. (Don’t forget to remove the macaron templates, if using, before baking!)
- While the macarons are resting, preheat the oven to 300˚F (150˚C) and position the oven rack in the center of the oven.
- Bake the macarons, one tray at a time, for 18-20 minutes, rotating the pan once halfway through the baking process.
- Remove from the oven and allow to cool on the sheet pan for 10 minutes before peeling off the parchment paper and cooling completely on a wire rack. (If the bottoms are a tiny bit sticky, keep them on the tray to cool off for an additional 10-15 minutes. If, however, the bottoms are already brown, they peel off cleanly, or they appear over-baked, then carefully take them off the tray immediately to cool down.) Repeat the baking process with the remaining sheet pans.Pro Tip: It’s always better to over- rather than under-bake your macarons as the maturation process can typically salvage ones that are over-baked.
- While macarons are drying and baking, prepare the cream cheese filling. Beat the cream cheese and butter until light and fluffy. Add powdered sugar and milk and beat until well combined. Transfer the filling into a pastry bag and fill the macarons, then gently sandwich together.
- Store the filled macarons in an airtight container in the fridge for up to 5 days and bring back to room temperature before enjoying.
Notes
- Macarons are best enjoyed the next day after they mature in the fridge (since the flavors will be absorbed into the shell). If your shell is hard/crunchy/over-baked, letting them mature will also cause the shells to absorb the moisture from the filling and soften up / give them their signature chewy texture.
Nutrition
MikeBakesNYC LLC owns the copyright on all images and text and does not allow for its original recipes and pictures to be reproduced anywhere other than at this website unless authorization is given. If you enjoyed the recipe and would like to publish it on your site, please re-write it in your own words, and link back to my site and recipe page. Read my Disclosure page. This post may contain affiliate links.
Erin
Hi Mike! Thanks for this recipe! Could you tell me which red gel food coloring you used? I used the Wilton red gel, and I couldn't achieve that rich red color that you did (I even added a touch of brown to darken the color, but I was scared to add more coloring). Do you have an estimate of how much color you used as well?
Thanks!
Mike Johnson
I used to have problems with the Wilton gels myself (and they always used to dry out on me!) I use Americolor for all my gel food coloring needs; this recipe was made with their Super Red & I used around 1½ teaspoons of it! Hope this helps 🙂