
This post may contain affiliate links. Read my Disclosure page.
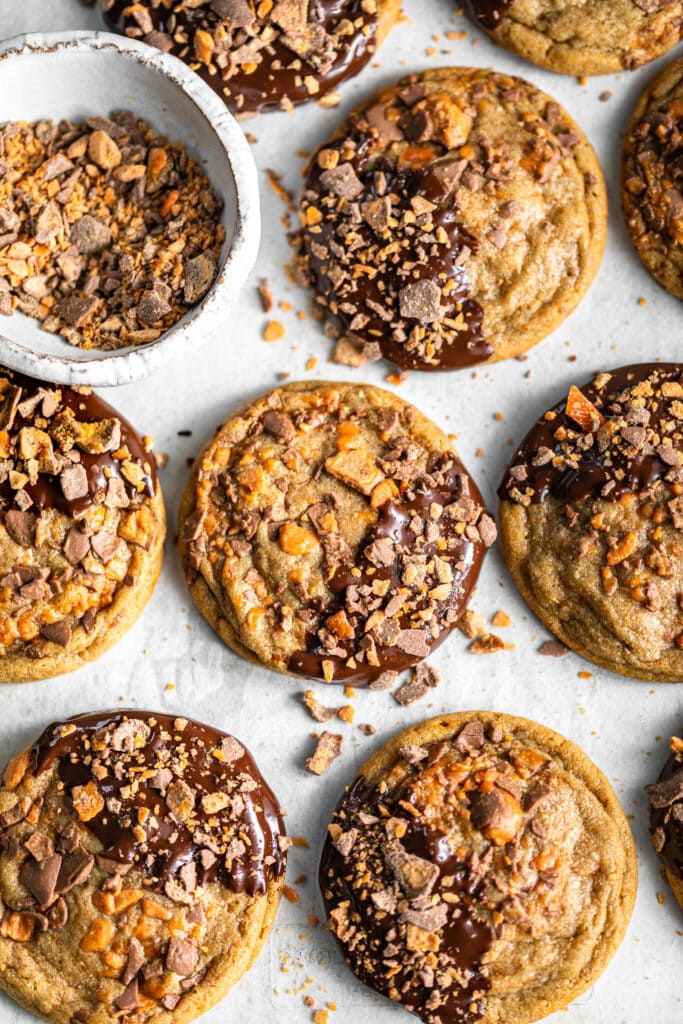
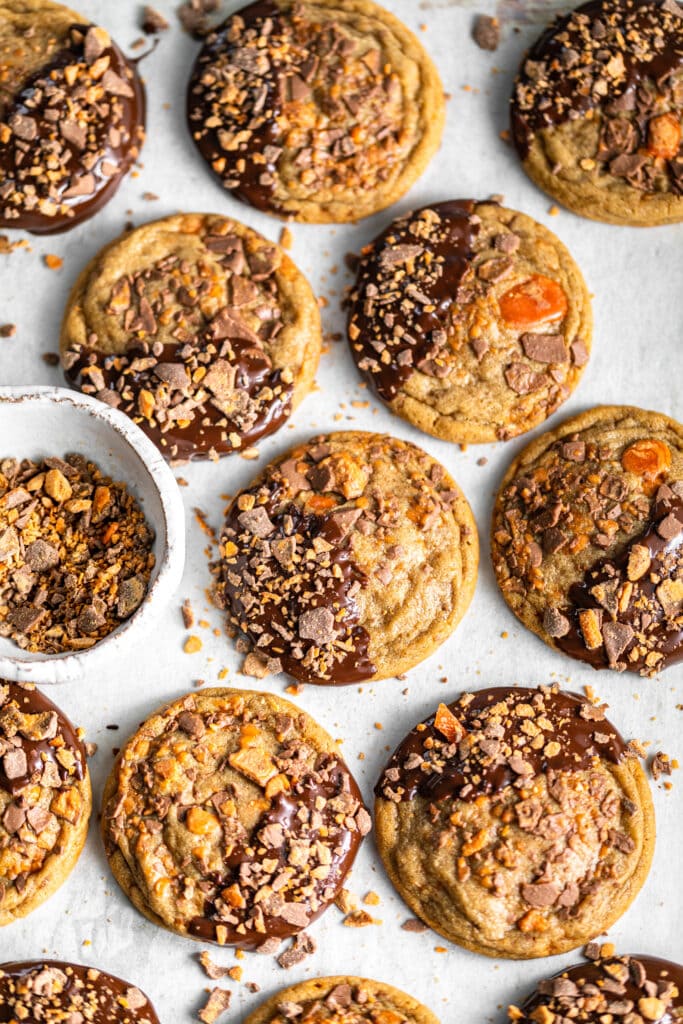
These Chocolate-Dipped Peanut Butter Butterfinger Cookies are the perfect treat to make for the chocolate-peanut butter lovers in your life. Sweet, easy to make, and delicious!
Table of Contents

Chocolate-Dipped Peanut Butter Butterfinger Cookies
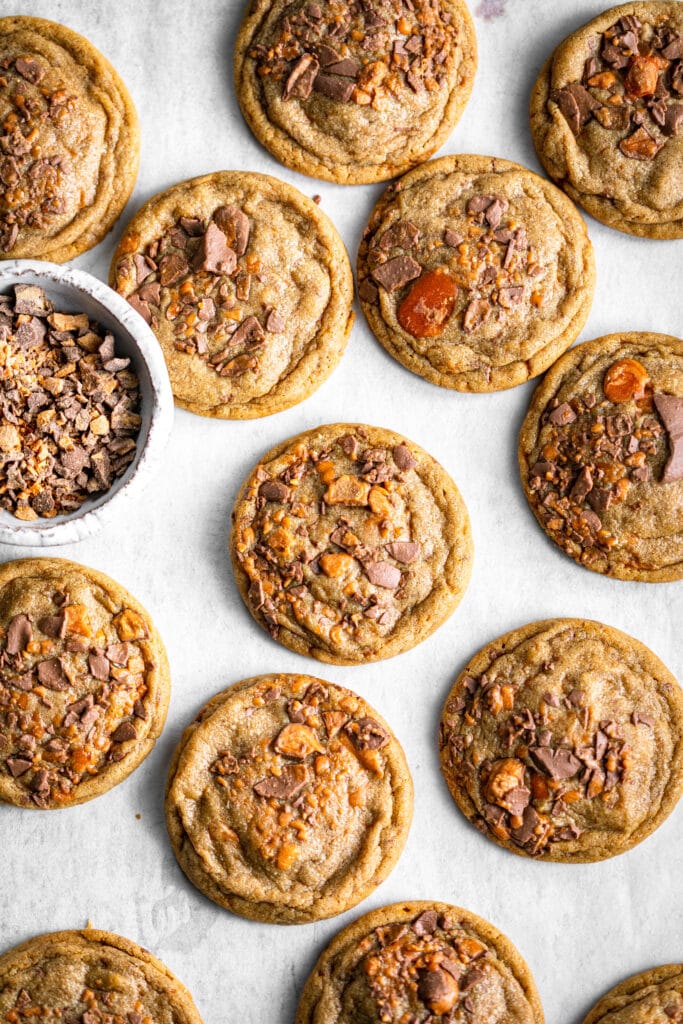
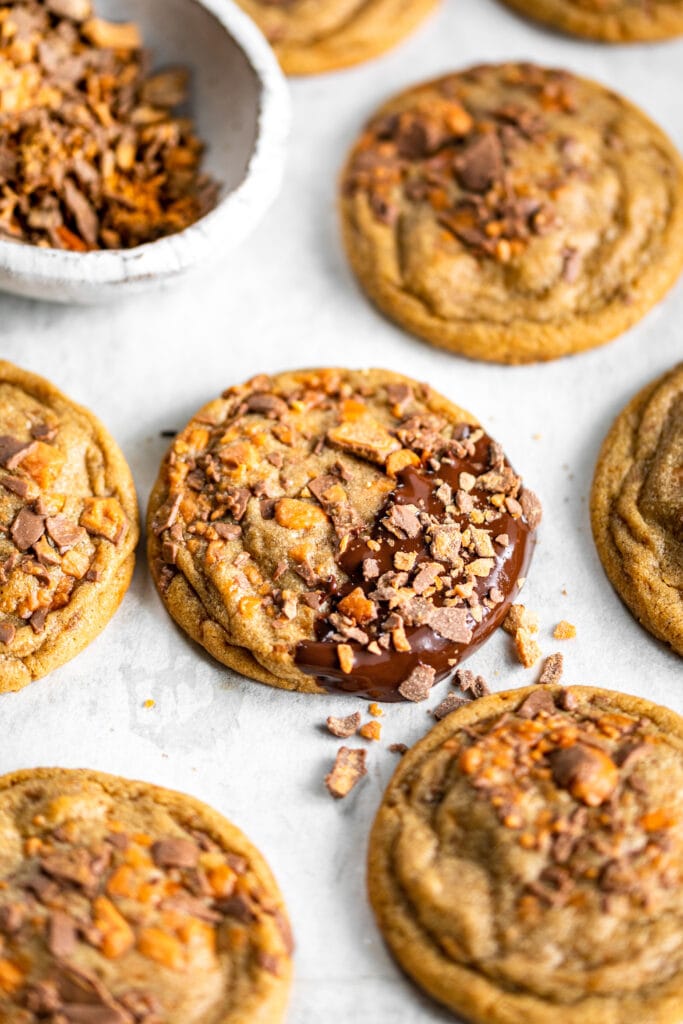
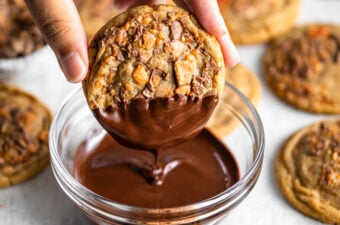
It's no secret that I think chocolate and peanut butter is one of the greatest food combinations of all time. So really, this recipe was a no-brainer to come up with. Soft and chewy peanut butter cookies with Butterfinger bits incorporated throughout and then dipped in chocolate? What's not to love!?
If you're not a fan of Butterfinger (and if so, I don’t even wanna knoooow you exist), you can leave it out completely and just make chocolate-dipped peanut butter cookies. They'll still be just as delicious!
Ingredients for Chocolate-Dipped Peanut Butter Butterfinger Cookies
To make this chocolate-dipped peanut butter Butterfinger cookies recipe, you will need the following ingredients:
- Butter: The one and only. I mean, all good cookie doughs/cookies need it!
- Sugar: You'll use both granulated sugar and brown sugar. I opt for dark brown sugar 95% of the time, but you can use light brown sugar if that’s all you have!
- Peanut Butter: Opt for a non-natural peanut butter like Jif or Skippy. I don’t suggest using natural peanut butter as it produces fragile and sandy tasting cookies. Crunchy peanut butter works OK too!
- Vanilla: A nice little flavor enhancer.
- Egg: You'll only need one large egg
- Baking soda: For a little leavening action.
- Salt: Don’t forget the salt! These cookies will taste a little plain without it.
- Flour: Just regular all-purpose flour.
- Butterfinger® bits or bars: They are Butterfinger® cookies, after all.
- Chocolate: Used for dipping the cookies in. I went with a semisweet chocolate but use whatever you prefer!
Chocolate-Dipped Peanut Butter Butterfinger Cookies Recipe Troubleshooting & FAQ
Can I reduce the sugar?
Unfortunately, no. It’s doing more than lending a sweet flavor. It’s actually helping to keep these cookies nice and moist and soft. If you were to reduce the amount of sugar the cookies would likely be crumbly and dry.
Do I have to chill the cookie dough?
"Have to"? I guess not... but I highly recommend chilling the cookie dough for at least 30 minutes. Just a quick 30 minutes in the fridge will lead to cookies that are slightly thicker and have a more complex flavor.
How long will these Chocolate-Dipped Peanut Butter Butterfinger Cookies last?
As long as you keep them covered tightly, they will last 4-5 days. They are perfect for making ahead of time for parties and events. Or you can just enjoy them all week long!
Why is this recipe in grams?
I post my recipes in grams as it’s the most accurate way to bake and it’s how I develop them; cups are not only inaccurate but they vary in volume worldwide! In any event, if you look at the recipe card underneath the ingredients list, you can click “US Customary” and it’ll convert to volume measures!
Help! My cookie dough is crumbly! What did I do wrong?
If you used cup measures as opposed to weight measures, there’s a larger chance your cookie dough will come out crumbly. Why? As weird as this sounds, measuring cups aren’t as accurate as you think. For example, somebody who scoops the measuring cup into the flour will have way more than somebody who uses a spoon to scoop the flour into the same sized measuring cup. This is why you should really be measuring by weight with a kitchen scale instead—it’s much more reliable and completely eliminates any inconsistencies.
Chocolate-Dipped Peanut Butter Butterfinger Cookies
Ingredients
- 113 g unsalted butter softened
- 110 g dark brown sugar
- 100 g granulated sugar
- 125 g creamy peanut butter
- ½ tablespoon vanilla extract
- 1 large egg (~50 g)
- ½ teaspoon baking soda
- ¼ teaspoon fine sea salt
- 165 g all-purpose flour
- 140 g Butterfinger® Bits or crushed Butterfinger® Bars
- 85 g 60% cacao semisweet chocolate chopped
Instructions
- In a large bowl, beat together the butter, dark brown sugar, and granulated sugar until combined and fluffy. Add the peanut butter, vanilla, and egg and mix until well combined, about 1 minute.
- In a medium bowl, whisk together the baking soda, salt, and flour. Add the dry ingredients to the wet ingredients and mix until just combined; be sure not to overmix! Fold in ¾ cup (105 grams) of the Butterfinger Bits until incorporated.
- Using a large (3-tablespoon) spring-loaded cookie scoop, scoop the dough and roll it into balls, then place on a parchment paper-lined baking sheet. Loosely cover with plastic wrap, and place in the refrigerator to chill for at least 30 minutes.
- Preheat the oven to 350°F (180°C). Line another baking sheet with parchment paper and set aside.
- Bake the cookies for 9-10 minutes until lightly browned on the sides; the centers will look very soft. Remove from the oven and allow to cool on the baking sheet for 5 minutes before transferring to a wire rack to cool completely.
- While the cookies are cooling, add the chopped chocolate to a large heatproof bowl, then set the bowl over a saucepan filled with just two inches of simmering water over medium heat. Do not let the bottom of the bowl touch the water. Stir until the chocolate is completely melted, then remove from the heat and set aside to cool slightly.
- Dip half of each cookie into the melted chocolate, scrape the bottom of the cookie on the bowl of the melted chocolate, and transfer to the empty baking sheet lined with parchment paper. Sprinkle with remaining Butterfinger bits and allow chocolate to set at room temperature.
Olivia B
I’ve always loved butterfinger bars, but this was my first time ever baking with them! I had a little difficulty crushing up the bar, and I found that popping them in the freezer for 15 minutes helped keep the chocolate from melting in my hands. Love this combo!